


Asset creation
Once you have created an asset family, you can add assets. In the asset manager, you have 2 ways to add assets:
- unitary (one by one)
- or via the mass upload feature.
If you use media links attribute types in your asset family (meaning that your media are stored out of the PIM), you won't be able to mass upload assets.
Add an asset
Let’s say that you just have created the Packshots asset family, you have defined its asset attributes and now you want to create your first asset.
To add a new asset to the Packshots asset family:
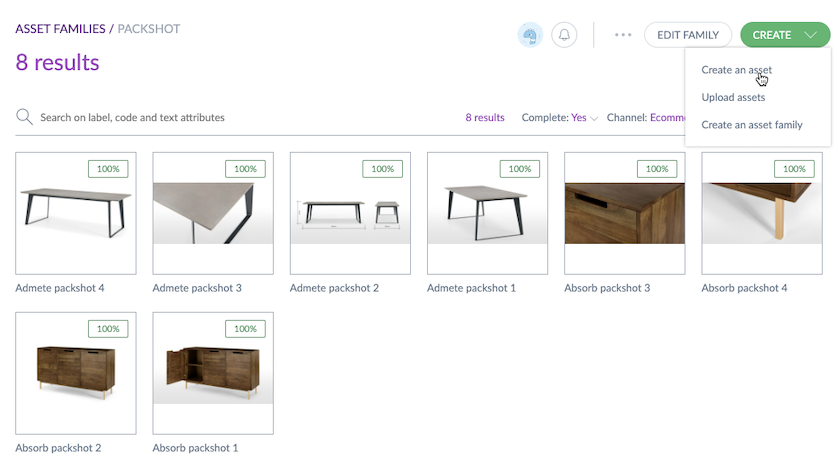
- Go to the Asset Manager
- Select your Packshots family (the assets will automatically appear in the grid)
- Then click on Create and select Create an asset.
- Choose a label for the asset (the PIM will automatically take its label to generate your asset's code, but you can change it if needed).
Note that we have defined a limitation of 10 million assets per asset family to guarantee that the PIM is functional and runs smoothly. Each asset must not be more than 5GB in size. In order to generate a preview of the asset, the file should be less than 60mb and not be more than 16000px high or wide.
Upload and create several assets at the same time
Assets mass upload is pretty convenient since it automatically creates new assets from uploaded files. The uploaded files will automatically be put in the attribute that you defined as main media in the asset family properties.
As for the unitary creation, you have to be in an asset family to mass upload your files.
The uploaded files will be added to the attribute defined as Attribute as main media of the asset family. You can define and change this attribute in the Properties tab of an asset family.
To mass upload assets:
- Go to the Assets menu
- Select your asset family in the dropdown button in the left panel
- Click on Create then select Upload assets

- Drag and drop your asset files in the page or click on Drag and drop your files or click here to open the dialog box and select the files you want to upload
- Once all your files have the ready to create status, click on Create.
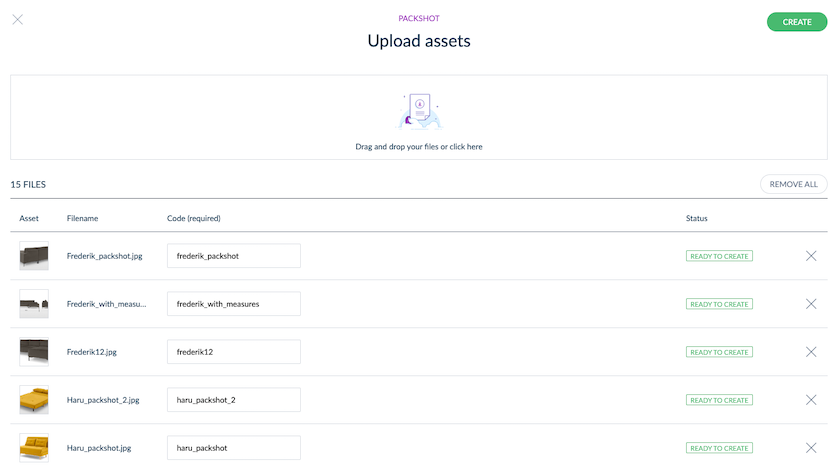
The code is automatically filled based on the filename but you can edit it directly in this screen. It cannot be edited afterwards.
When files are added to the list, you can remove them whatever their status.
To remove the file from the list, click on the X button at the end of the row. The file will be removed and will not be imported.
If you want to remove all files at once, click on the Remove all button.
Only letters, numbers and underscores are allowed in an asset code, the other characters will be replaced by an underscore " _ ". For instance, if the file's name contains a minus sign character "-", it will be changed into an underscore sign " _ ", so the "picture-1.jpg" and "picture_1.jpg" will be linked to the same asset code "picture_1".
If you plan to upload your assets in bulk, this will automatically activate for each asset the Product Link Rules that you might have defined. To make sure every Product Link Rule is properly executed, we recommend you to import your assets via an archive or via the API.
If you need to have specific files per channel or per locale, there is another step to do.
SPECIAL CASES
My attribute used as main media is localizable
Let's say that in your asset family Packshots, the attribute used as main media (called My_main_image) is localizable. It means that you want to have different files depending on the locale.
In the upload screen, a new column Locale (required) appears.
Note that if the filename contains the code of the locale (for example: Alpha_1-en_US.png), we automatically filled the locale field with English (United States). You can change it if desired.

If the filename doesn't contain the locale code:
- Upload your file (for instance Alpha_1) and choose in which locale you want to add it, by selecting the right locale in the dropdown field.
- Once it is done, you can click on Create to create the asset 😃
My attribute used as main media is scopable
Let's say that in your asset family Packshots, the attribute used as main media (called My_main_image) is scopable. It means that you want to have different files depending on the channel.
In the upload screen, a new column Channel (required) appears.
Note that if the filename contains the code of the channel (for example: Alpha_1-ecommerce.png), we automatically filled the channel field with ecommerce. You can change it if desired.

If the filename doesn't contain the channel code:
- Upload your file (for instance Alpha_1) and choose in which channel you want to add it, by selecting the right channel in the dropdown field.
- Once it is done, you can click on Create to create the asset 😃
My attribute used as main media is localisable & scopable
Let's say that in your asset family Packshots, the attribute used as main media (called My_main_image) is localisable & scopable. It means that you want to have different files depending on the locale and on the channel.
In the upload screen, two new columns Locale (required) and Channel (required) appear.

Note that if the filename contains the code of the locale and the code of the channel (for example: Alpha_1-en_US-ecommerce.png), we automatically filled the locale and the channel fields with English (United States) and ecommerce. You can change it if desired.
Please, make sure that the filename contains first the locale code, and then the channel code.
It won't work if the filename contains only the locale code or only the channel code whereas both are expected.
If the filename doesn't contain neither the locale code neither the channel code:
- Upload your file (for instance Alpha_1) and choose in which locale and which channel you want to add it, by selecting the right locale and channel in the dropdown fields.
- Once it is done, you can click on Create to create the asset 😃
To add the files of the other locales/channels, just click on your asset in the library, go on the right attribute, switch the locale/channel and add files directly in the asset form!
Now that your Asset Manager is filled with many assets, it's time to dig into the asset library.
The asset library
When you open the Assets menu, you discover the assets in a mosaic view, that we call the asset library.
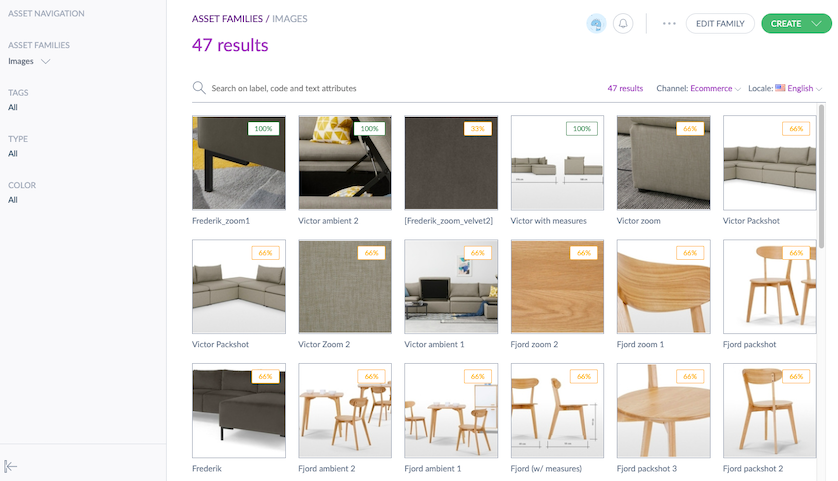
Assets are displayed by asset families. By default, the first asset family is selected.
If you don't have any asset family, the first thing to do is to create your first one, and then you will be able to add assets.
Search for assets
Because we really want to help you in your daily work, we focused our efforts on the search.
FULL TEXT SEARCH
As for the Reference Entity feature, you benefit from a powerful search in the Asset Manager. With the full text search, you can search on code, label and text attribute types.
For example, if you search for the word Ambient, all the assets containing the word Ambient in their code, label or text attribute types will be displayed.
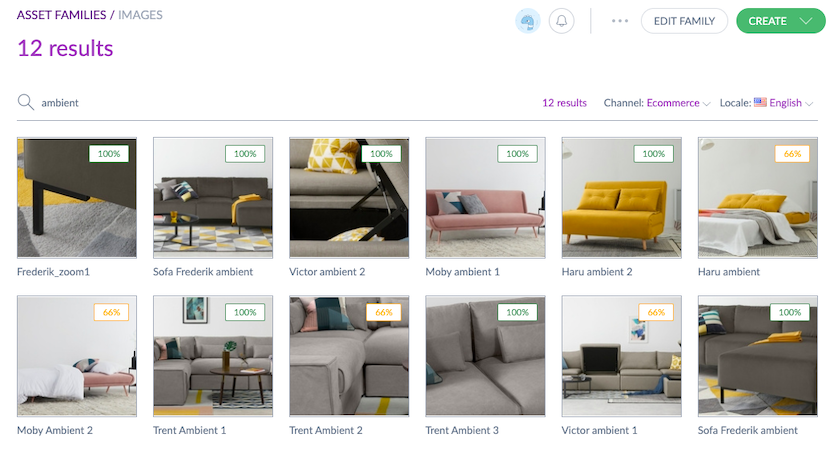
In this example, this word is part of the Label or the Description attribute of the assets.
And we can go further. If you search for "famous" and "chest", then only the asset containing both "famous" and "chest" words will be displayed.
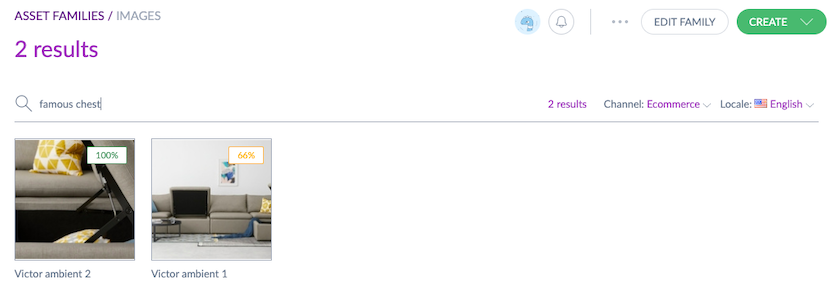
In this example, both words are part of the Description attribute of the assets.
FILTER ON OPTIONS
On the left-side menu, you can use the following attributes as a filter:
- Single/multiple options attributes. It can be very powerful if you use these options to manage tags on your assets, for example.
- Reference entity attributes. It can be very powerful if you use reference entity records to manage tags on your assets, for example.
- Date attributes
Default operator for single/multiple options is an in-list operator. If you are looking for the images with the colors "Yellow" OR "Gray", the images with the colors "Yellow" OR the color "Gray" will be displayed.
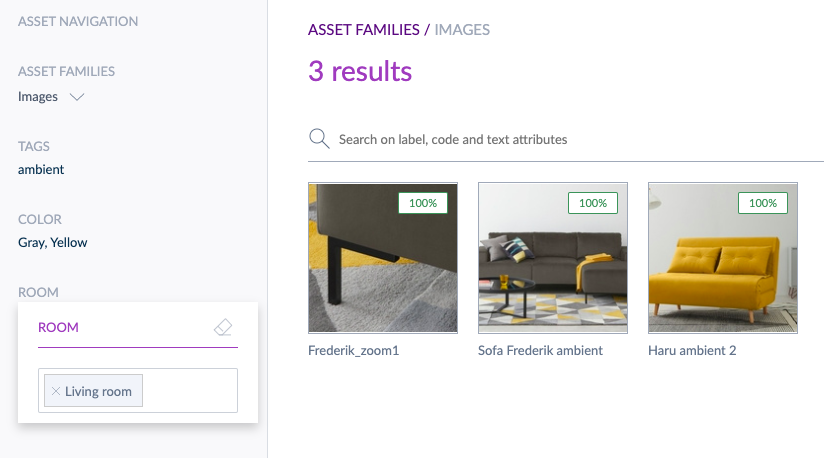
You can combine filters. For instance, you can search on all images with:
- the colors "Yellow" OR “Gray”
- AND the "Living-room" room
- AND the "ambient" tag.
An option can be removed from a filter using the cross.
To empty a filter, you can click on the eraser.
Display media
Now that you are familiar with the asset library, you can now open an asset to have a large display of your media and to enrich the asset attributes.
Display media in a media file attribute
As explained in this article, if a media file attribute (the attribute you will put your media file in) is part of your asset family, you have to choose a media type so that the PIM generates a preview.
How does it work? When you select a media type (image, pdf or other), a specific Preview Generator is used.
For image, the Preview Generator will try to create an image from your asset. If the asset is not an image or if the format is not supported by imagick (the library we use in the Asset Manager to generate previews), a default image is returned.
For pdf, the Preview Generator will use a specific library to transform the first page of the pdf to an image. Same here, there is no guaranty it will work in 100% of the cases, we have a fallback on the default image.
For other, there are no previews.
Display media in a media link attribute
As explained in the introduction, you cannot upload files in an asset family that uses a media link attribute as main media.
To add the url of your media, you have two options:
- either you do it manually and one at a time via the PIM UI
- or you use the API (you can refer to our API documentation to build a connector which automatically sends media links).
Once the media link attribute is filled with a url, the media automatically appears 🎉
The PIM cannot ensure that what you are currently seeing in a media link attribute is still what is externally stored. That's why we strongly recommend using one url per media. As soon as your media stored externally changes, the best practice is to change its url in the PIM.
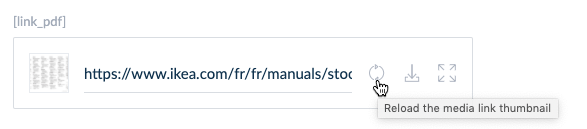
If you want to be sure that the thumbnail that you are currently seeing is still the one behind the url (and not the old one that is still in the PIM cache), you can click on the reload icon just next to the url or on the top right corner of the main media preview.
To optimize user experience, we set three limits to get a preview:
- 56 MB for the size of an asset
- 2 seconds to fetch an asset from its distant server
- Not more than 16000x16000 pixels