


Work with the views
What if, you could save all changes made on your grid (filters, columns, category selection...) and come back later to the exact same view so you can keep on working on your product’s selection? Well, this is possible with the View feature!
Views are available for all users for all versions (Community and Enterprise).
Create a view
Before creating a view, first select a category or a category tree, add some filters and add/remove columns. Once you are all set, you will see that the Default view name became Default view*. Every time you will make a change on a view, a small asterisk "*" will be added nearby its name.
To create your first view:
- Click on the "..." nearby the view selector menu
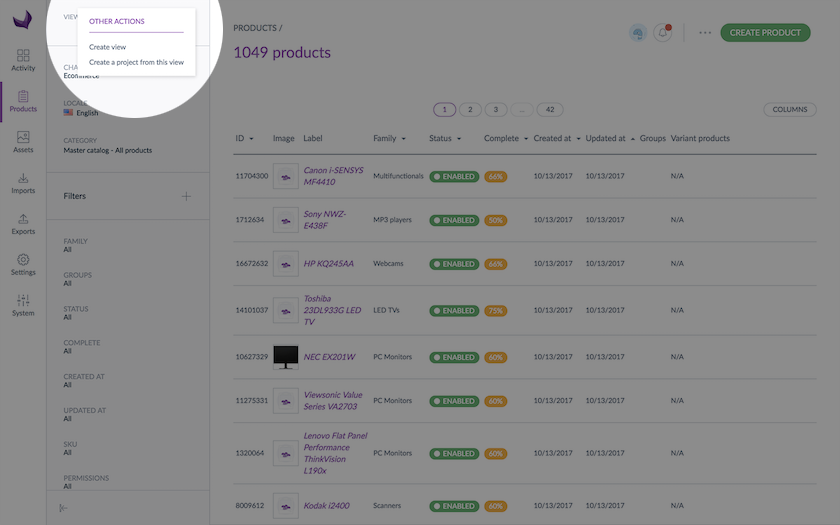
- Select Create view in the dropdown menu. A window will appear.
- Enter a name for your view
- By default, the option I want to create a private view is selected. It means that the view will only be visible by you. If you want to share this view with every user, just uncheck this box.
- Click on Save to record your view
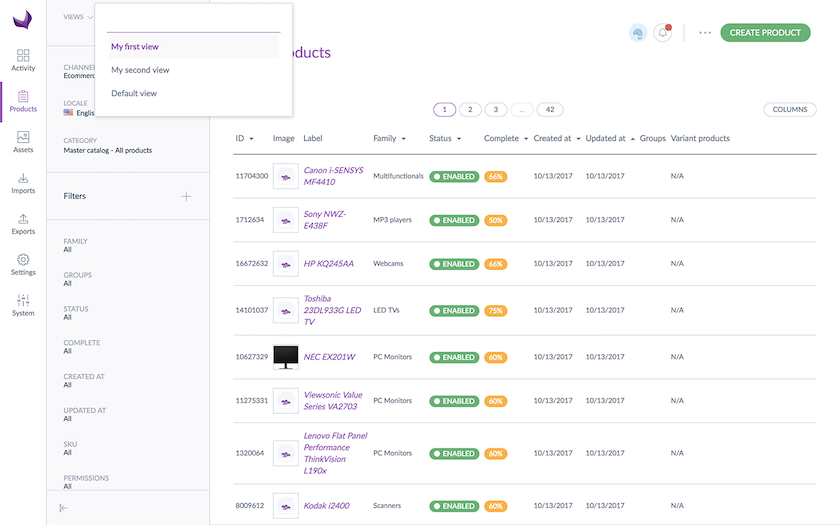
This view will now be available under the Views dropdown menu.
Some rules about the views:
- By default, all new created views are private.
- Only the view’s creator can delete or edit it.
- If you need to edit someone’s else view, select it, make your changes and save it again under a new name.
- Only active filters will be saved for your view. For instance, an attribute filtered on ALL will disappear when saving your view, because ALL is the default filter value.
When you create a new view, you can save a grid configuration as well as active filters. Please note that system filters will be always added to your filter menu, unless you customise default filters in your account. Read our Manage your account article to learn more about default grid filters.
You can set one of your view as your own default view! To set one of your view as your default product grid view, read the following article Manage your account.
Apply a view
To apply a specific view, select it from the dropdown list or look for it using the search bar. The product grid will be updated.
Update a view
To update the filters or the column configuration of the views you have created:
- Select the view that you want to edit
- Change the filter and/or the grid columns, when you make changes an asterisk “*” is shown nearby your view name
- Click on the "..." nearby the view selector menu
- Select Save this view in the dropdown
Share a view
Your view may be useful for your colleagues too. No problem, they can easily set it as their default view too! Here are the steps to follow:
- Click on your avatar on the top right corner of the screen
- Select your name
- Click on Edit and select the Additional tab
- In the Default view field, select the relevant view in the dropdown Go back to the product grid and you will benefit from it.
Delete a view
To remove a view you have created, follow the steps below:
- Select the view you want to delete
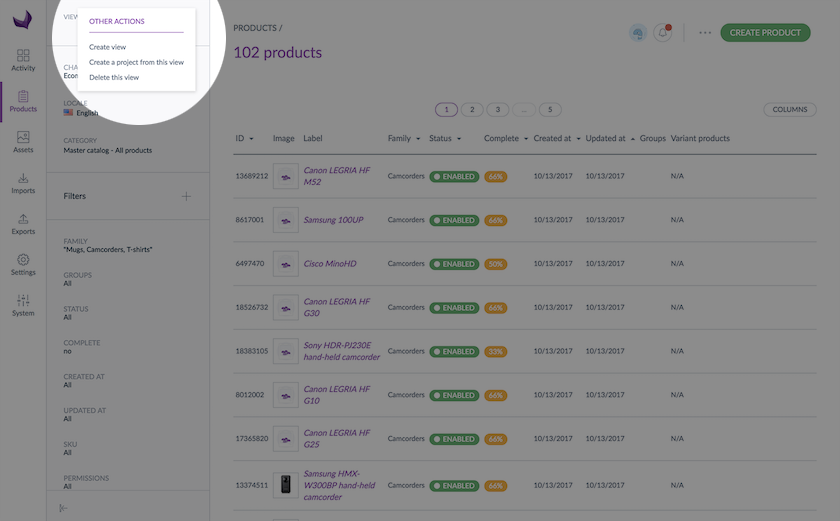
- Click on the "..." nearby the view selector menu
- Select Delete this view in the dropdown
- Confirm or cancel the suppression of the view.
Use one of your view to create a project! Read our How to create a project article.