Overview
A rule allows you to automatically enrich some of your product information. It relies on automatic actions based on conditions. A rule is composed of one or several conditions, that allow you to filter products/product models, and then one or several actions to update these products/product models.
For more details, please refer to our dedicated article about the rules engine.
To create a rule, there are two options. Either you create it via the UI, or via a YML import job.
Create a rule in the PIM UI
To be able to create/edit rules, you need to have the right permissions. To manage your permissions, please go to System/Roles, select the appropriate role and then, click on Permissions/Rules, and tick Create rules and/or Edit rules.
To create a rule via the UI, go to Settings/Rules and click on Create. A creation popin appears. Choose a code and a label to name your rule, then validate. You rule is created! You can now define your product selection and the action.s you want to apply to your selection. Let's go!
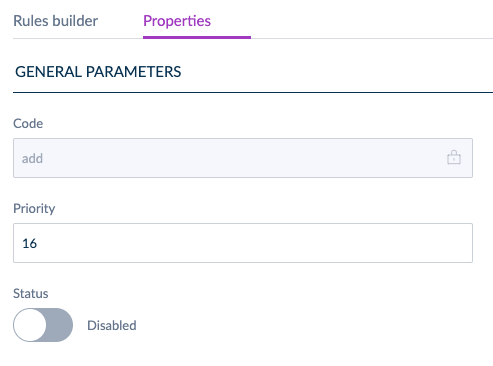
Once your rule is created, the rule edit screen appears. On this screen, you can see two tabs: the rule builder and properties. In the Properties tab, you can define the priority of your rule, but also its label translations. These fields can be updated afterward. The code is the only part that is immutable.
The Rule builder tab
This screen is the most important one as this is where you can manage your conditions and actions.
The first thing to do is to filter the products you want to update with this rule. To do so, there are a bunch of filters available under the Add condition button.
PRODUCT SELECTION
In the Product selection part, you can define the 'Conditions'. They are the attributes or system fields you want to use to filter your products/product models. Altogether, your Conditions will create your 'Product selection'.
If you want to know what is the entire list of attributes/system fields take a look at our article.
By default, when there is no condition, your whole product catalog is selected. So if you add one or several actions, your whole catalog will be updated!
At the top of the list, you will find the system fields and below, all the attributes gathered by attribute groups. There is a search bar to help you find the attributes. Each time you add a condition, its color turns to purple to inform you that it is already used. A new line appears in the product selection.
Let's see how a line is organized.
On the left, you will find the system fields or attribute you chose. It is written in purple. Then, you have to choose an operator. Depending on the filter, the operator list changes. The next fields vary depending on your filter. There can be up to 3 types of fields. You can have the value field. For example, if your filter is a multi-select attribute type, you can choose which options you want to filter on.
If your filter has a value per channel and/or per locale, the channel and locale fields appear, in order to let you choose which locale/channel you want to filter on.
If you want to remove a condition, just click on the cross at the end of the line.
As you can see on the left side of the Add condition button, there is a counter that tells you how many products/product models will be updated by this rule. It means that these conditions will impact X products/product models. This count is automatically updated as soon as you change a condition.
Available conditions
To select your products/product models, you can use all the system fields and attribute types of the PIM as conditions:
- Categories
- Family
- Family variant
- Groups
- Status
- Entity type (product or product model)
- Identifier
- Completeness
- Parent
- Creation date
- Update date
- Asset collection attribute
- Date attribute
- File attribute
- Image attribute
- Measurement attribute
- Multi select attribute
- Simple select attribute
- Number attribute
- Text attribute
- Boolean attribute
- Text area attribute
- Reference entity single link & multiple link attributes
- Price attribute
ADD ACTIONS
Now that you have filtered your products/product models, you can add one or several actions you'll apply to them!
To do so:
- Click on Add action at the top of the screen
- Select the action you want to add. There is a search bar and a scroll bar to choose the action from a list.
- A new section appears under the Product selection part.
Here is the list of all the actions you can do with the rules engine if you use the YML file import.
Depending on the action you choose, the template changes. The table below lists all the actions that you can add via the PIM interface.
Available actions
| Set actions | What they do |
| Set categories | Classify your products/product models in the categories you choose, and remove them from their former categories. |
| Set family | Replace your products/product models family |
| Set attribute value | Set values to any attribute type. It will replace the former values |
| Set groups | Set groups to your product selection (product models don't have groups) |
| Set associations | Set associations to your product/product model selection (you will be able to choose the association type and the entity you want to associate: products, product models or groups) |
| Set quantified associations | Set quantified associations to your product/product model selection (you will be able to choose the association type and the entity you want to associate: products, product models or groups, and finally, their quantity) |
| Set status | Set a status to your product selection |
| Add actions | What they do |
| Add categories | Classify your products/product models in new categories, without removing them from their former categories. |
| Add groups | Add groups to your product selection (product models don't have groups) |
| Add attribute value | Add values to a multi select, a price collection, a reference entity multiple link or an asset collection attribute. It will keep the former values |
| Add associations | Add associations to your product/product model selection (you will be able to choose the association type and the entity you want to associate: products, product models or groups) |
| Remove actions | What they do |
| Remove categories | Unclassify your product/product model selection from the chosen categories |
| Remove products from groups | Remove your product selection from groups (product models don't have groups) |
| Remove attribute values | Remove values from a multi select, a reference entity multiple link or an asset collection attribute |
| Clear actions | What they do |
| Clear attribute value | Delete values from an attribute on your product/product models selection |
| Clear associations | Delete all the associations of your product/product models selection |
| Clear quantified associations | Delete all the quantified associations of your product selection |
| Clear groups | Delete all the groups of your product selection (product models don't have groups) |
| Clear categories | Unclassify your product/product model selection from every category |
| Copy action | What it does |
| Copy attribute value | Copy the value from an attribute to another one |
| Calculate action | What it does |
| Calculate attribute value | Calculate numeric attribute values, with simple mathematical operations |
| Concatenate action | What it does |
| Concatenate attribute value | Concatenate at least two values into a single value. You can use this action to create a description for instance, using free text fields, attribute fields and line breaks. |
Create rules via a YML import
To create rules using a YML file, you need to create it and import it in the PIM using the Rule import in YML import job.
For more details about how to execute an import, please refer to Import your data.
You can also export your rules. For that, execute the Rule export in YML export job. For more details about how to execute an export, please refer to Export your data.
View all rules
The Settings/Rules screen displays a grid with all the rules that have been created and imported in the PIM.
You can search on the rule code or label.
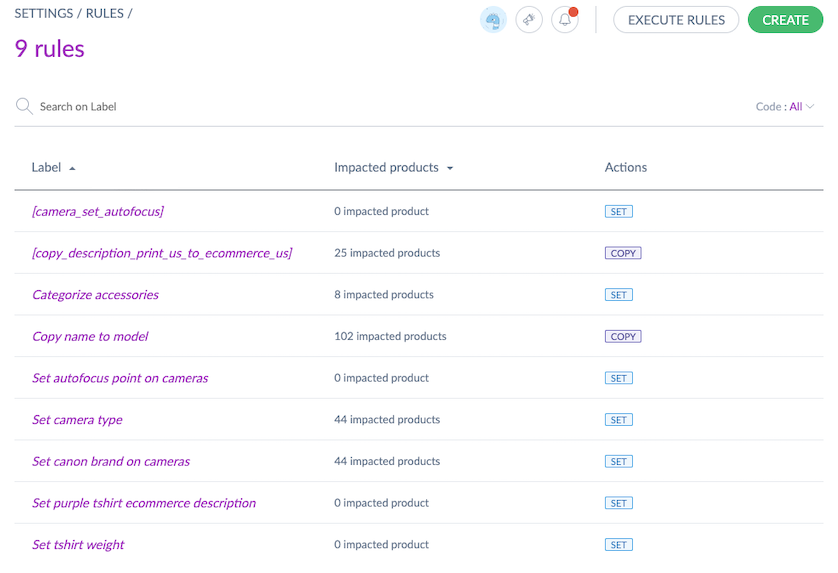
In the last column, there is a tag. Thanks to these tags, you can see at a glance the action type behind each rule (add, copy, concatenate, set, calculate, remove, clear) 😉
You can order your rules by priority.
Calculate the number of impacted products per rule
To help you define the conditions for your rules and validate them, you can calculate the number of matching products that the rule will process.
The first time a rule is executed, it can match many products. The following time, you might have zero Impacted products or only a few.
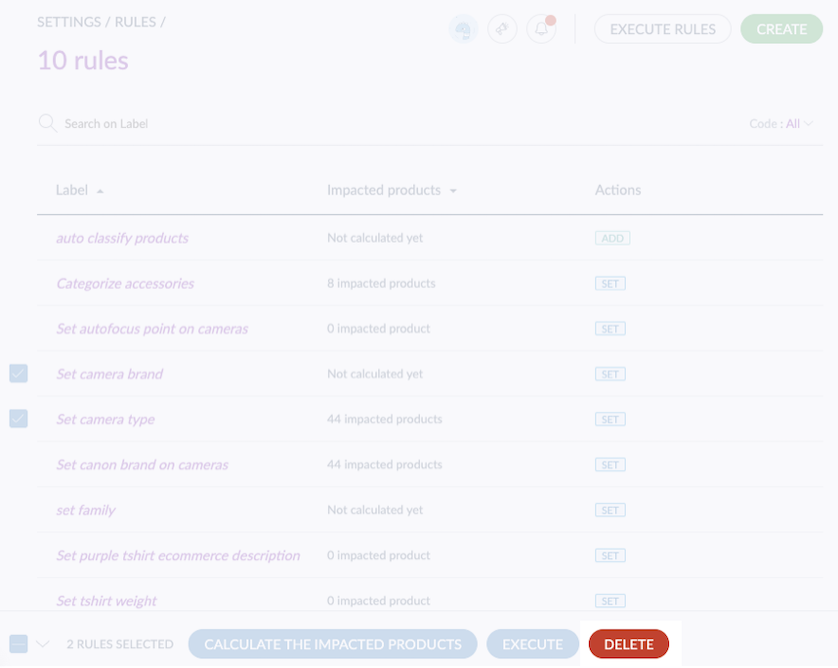
- To use this action, select one or several rules by ticking them on the left side of the screen
- Click on Calculate the impacted products
- Then confirm the action in the pop in
- A flash message confirming the action will be displayed and you will be notified once the calculation is done.
The number of impacted products will appear on the right side of your screen in the Impacted products column.
Execute rules
Rules are automatically executed 4 times a day: at 5 am UTC, at 11 am UTC, at 5 pm UTC and at 11 pm UTC. Rules are also regularly executed after a bulk action or after imports with rules.
But you can also execute rules on your own. You can execute:
- one specific rule
- a selection of rules
- all your rules (be aware, this action could take a long time)
The rules support product models, so rules can be defined also on attributes at the product model level (or sub product model level).
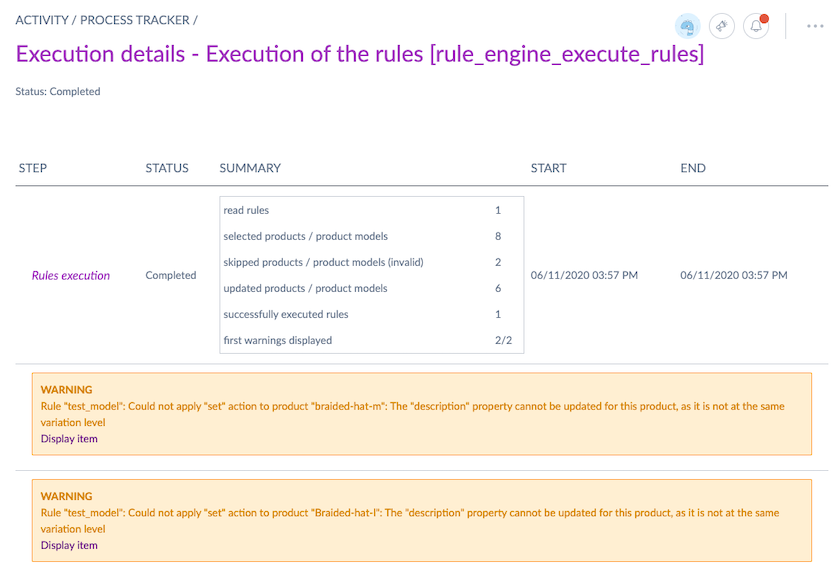
The rules execution summary is accessible via the process tracker.
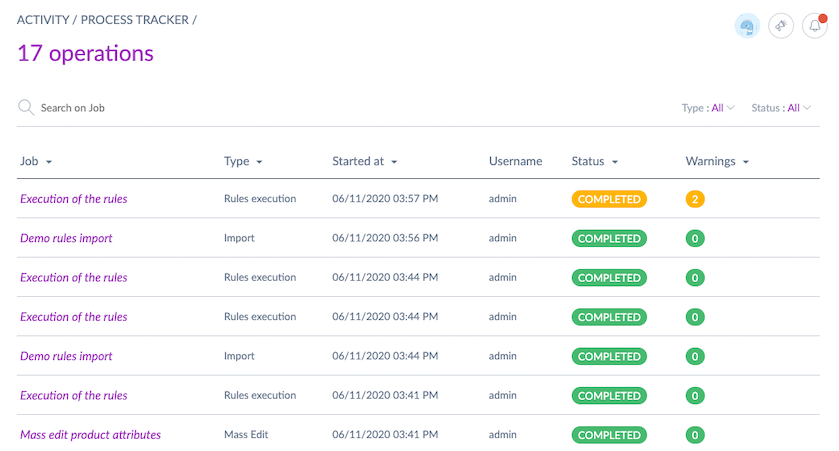
In this summary, you can easily access the details of the execution: how many rules were executed, how many products/product models were updated, warnings...
In order to access the summary of nightly scheduled rules (by cron), you need to have the right to View all jobs in process tracker in the Roles permissions to be able to see them the process tracker 😉.
Execute a single rule
To execute a rule, click on the Execute button at the end of each line in the grid.
A confirmation message validates the action of executing a rule.

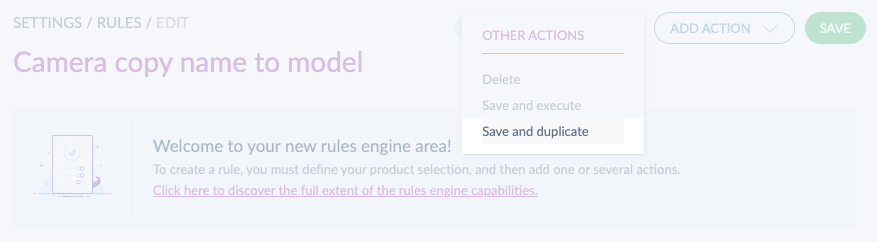
If you are editing/creating a rule in the rule edit form, you can execute it as well, just click on ... then Save and execute.
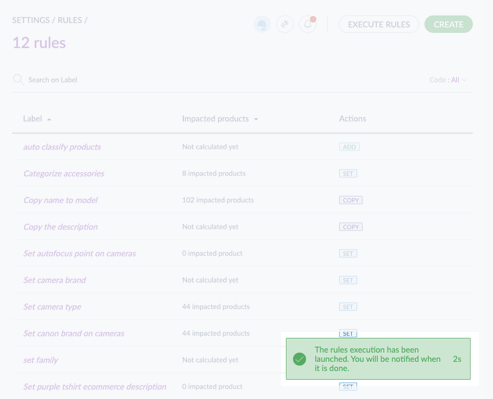
Execute a selection of rules
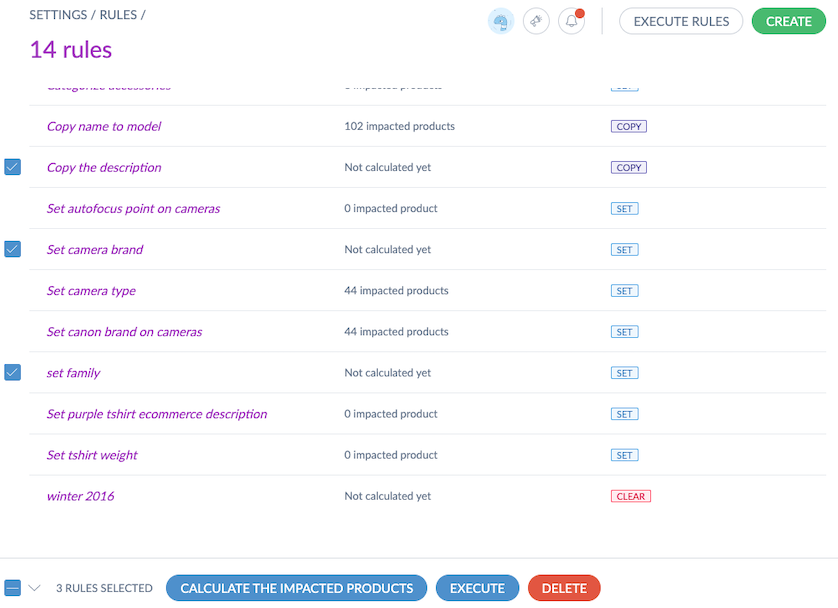
You can also execute several rules at the same time:
- Select one or several rules by ticking them on the left side of the screen
- Click on Execute
- Then confirm the action in the pop in
- A flash message confirming the action will be displayed and you will be notified once the execution is done
Define a status for a rule
Sometimes, you may need to create/update a rule, save it, but not execute it automatically, because you will need to finetune it later for instance. To do so, you can use the Status property.
To change the status, just click on the Properties tab of a rule and choose between Enabled or Disabled.
You can see at a glance the status of each rule in the rules grid.
By default, each new rule you create via the UI is disabled.
Duplicate a rule
Let's say that you have very similar rules with only one different condition for instance. In order to avoid re-writing the whole rule, you can duplicate it.
To duplicate a rule, just access the rule edit form, click on ... then Save and duplicate. The creation popin opens and you can choose a code and a label for your new rule.
By default, when you duplicate a rule, it is disabled. To execute it, you have to change its status, under the Properties tab of the rule.
Delete rules
A deleted rule can no longer be executed by the rules engine. The products keep the values calculated by the deleted rule.
Delete a single rule
To delete a rule, click on Delete at the end of each line in the grid.
A confirmation message validates the action of deleting a rule.

If you do not see the Delete button, it might be because you do not have the right permissions. Please refer to Manage your user roles.
Delete a selection of rules
You can also delete several rules at the same time:
- Select one or several rules by ticking them on the left side of the screen
- Click on Delete
- Then, confirm the action in the pop in.