

Create an asset family
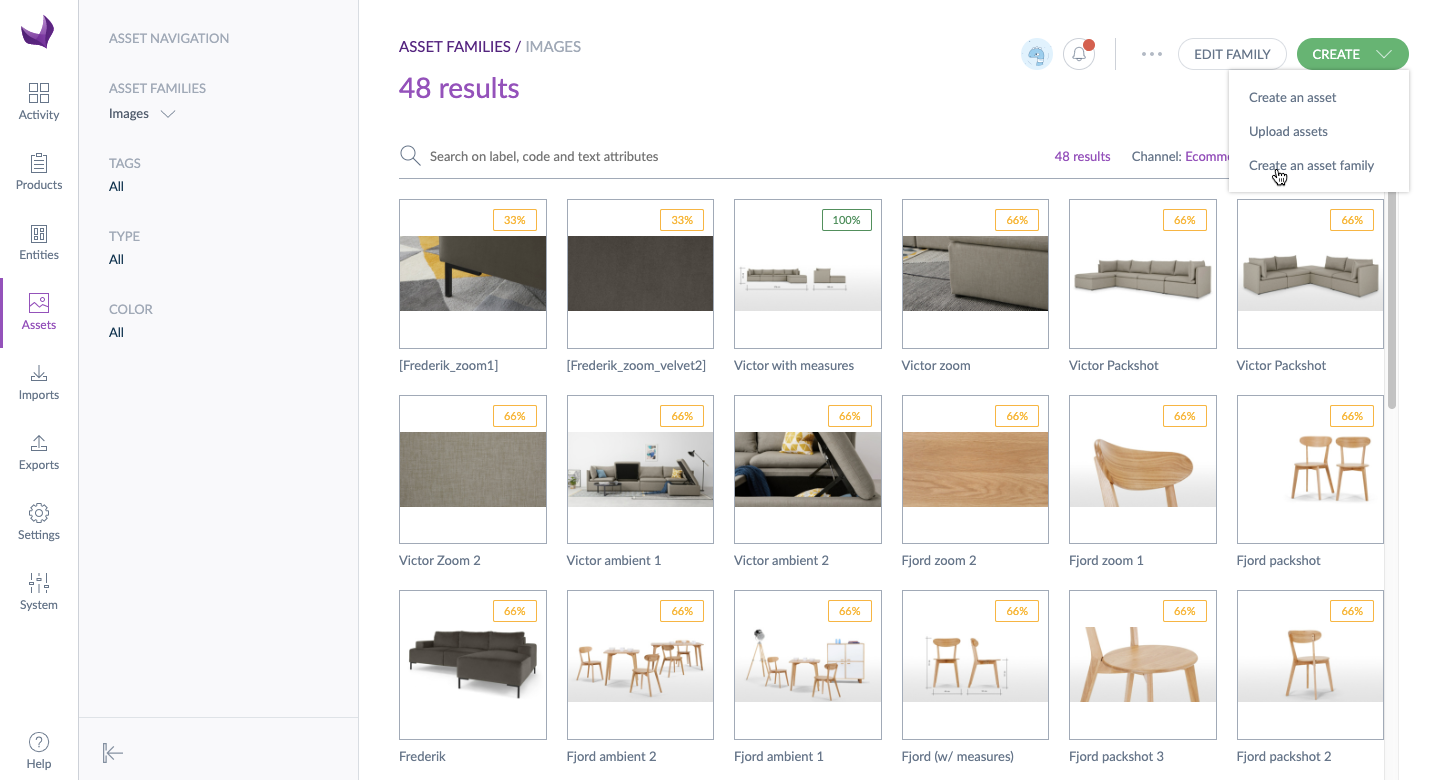
When you open the Assets menu, you discover the asset library. On this screen, we display the existing assets by asset family.
It is not possible to have an asset without asset family. So if you don't have any asset family, the first thing to do is to create one.
To create an asset family, click on Create then Create an asset family.
Once it is done, you will arrive on the asset family settings, where you can:
- Define the asset attributes (Attributes tab)
- Define the family properties (Properties tab)
- Define the family permissions (Permissions tab)
- Define and edit the product link rules (Product link rules tab)
- Define and edit the asset transformations (Transformations tab)
Define its asset attributes
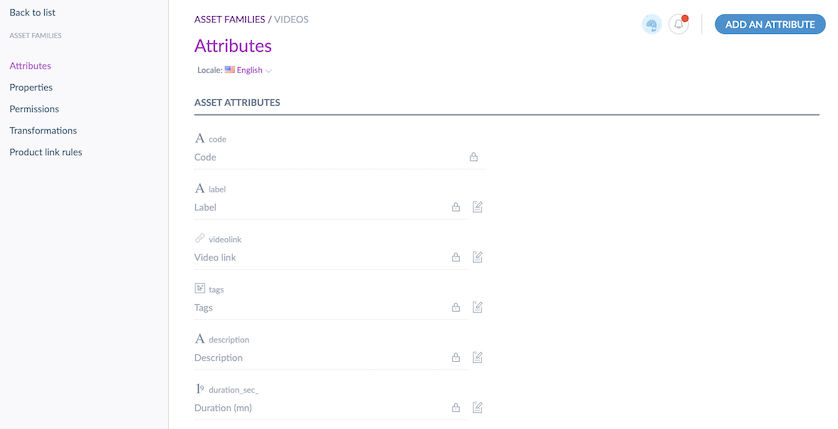
In the Attributes tab, you can define what are the attributes for the assets.
For example, a Video asset family could be described by the following information:
- a code
- a label
- a Youtube link
- tags
- a description
- a duration
Add an attribute
To add an attribute, follow these steps:
- Go to the Attributes tab of an asset family
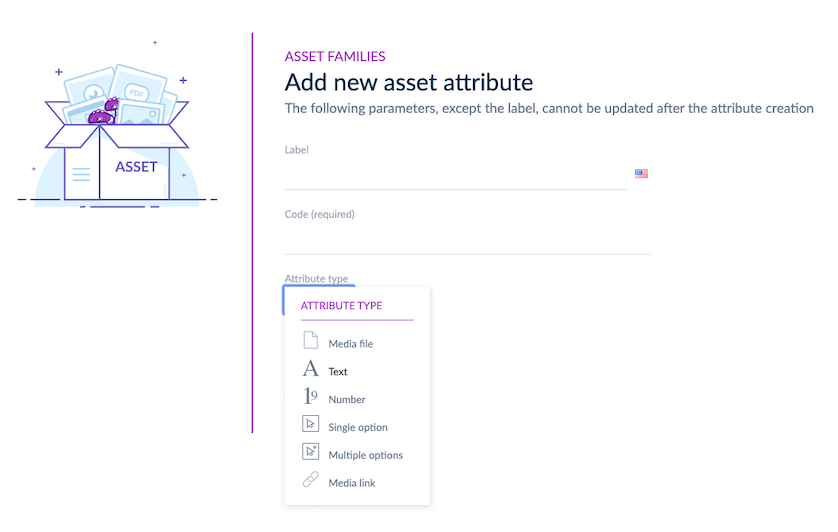
- Click on Add an attribute
- Input the label of the attribute in the current catalog locale
- The code is automatically generated using the label but you can update it (this code must be unique and may only contain letters, numbers and underscores)
- Select the attribute type:
- Media file: for images and files stored internally
- Media link: for images and files stores externally (when you have a url link)
- Text: for text or text area attributes. You can also use the rich text editor for this attribute type.
- Number: for number attributes
- Single option: to define a list of options with a single choice
- Multiple options: to define a list of options with multiple choices
- Tick Value per locale if your asset has different values per locale for this attribute
- Tick Value per channel if your asset has different values per channel for this attribute
- Click on the Save button or press Enter to add the attribute
The attribute is now created and an edit pop-in opens with the attribute parameters depending on the attribute type.
To guarantee that the PIM is functional and runs smoothly, we defined a volume limitation of 100 attributes per asset family for this feature. If you try to create more than 100 attributes, you will have a blocking message.
Edit an attribute
To edit an attribute, follow these steps:
- Go to the Attributes tab of an asset family
- Click on the Edit icon
- An edit pop-in opens with the attribute parameters depending on the attribute type
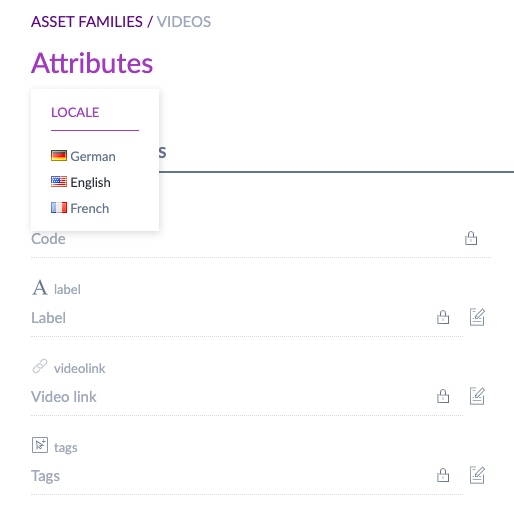
- You can translate the label of the attribute by switching the current locale in the header
- You can define if this attribute is required for the asset completeness or not (see the Define the completeness part).
- It is also possible to set each attribute as read only in the UI. It means that it is impossible to change this attribute value (see the Read only part).
- Depending on the attribute type, set the specific parameters of the attribute (see below the specific parameters)
- Click on the Save button or press Enter to save the attribute parameters
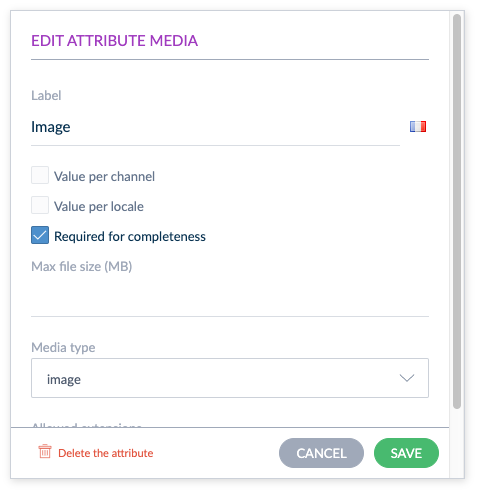
EDIT A MEDIA FILE ATTRIBUTE
- Max file size (MB): maximum file size allowed in MB
- Media type: choose either image, pdf or other. It has an impact on the preview but there is no control. It means that if you choose pdf as media type, you can still add an image in this attribute but we won't generate any preview.
- Allowed extensions: allowed files extensions (gif, jpeg, jpg, pdf, png...)
Note that there is no preview for the other media type.
EDIT A MEDIA LINK ATTRIBUTE
- Prefix: to put a prefix on all the media links (for example: http://mydam.com/pictures/)
- Suffix: to put a suffix on all the media links (for example: ?width=800&format=jpg)
- Media type: choose either image, pdf, youtube, vimeo or other
Note that there is no preview for the other media type.
The prefix and suffix are not mandatory.
Specificity for Youtube and Vimeo links
If you want to use a Youtube or a Vimeo url link in your asset, you have to put the ID of the video, not the entire url link.
For instance: in the asset edition screen, instead of putting the entire url link https://www.youtube.com/watch?v=Lp8N8VhoaahhQ in the media link attribute, you must put the ID of the video which is: Lp8N8VhoaahhQ. You'll discover immediately the thumbnail of the video. 😉
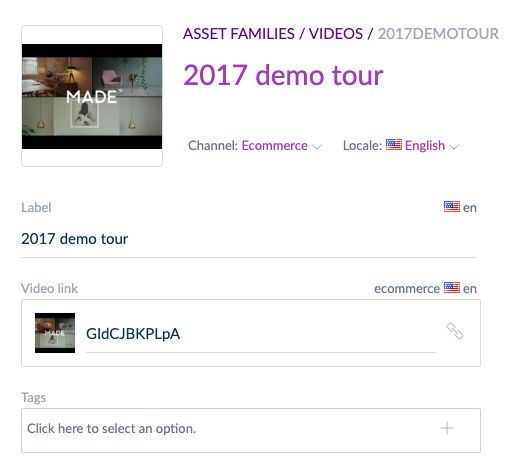
Also, no need to add prefix and suffix on Youtube neither Vimeo links: these fields must be empty.
EDIT A TEXT ATTRIBUTE
- Maximum number of characters: maximum number of characters that an attribute value can have
- Text area: long text
If Text area:
- Rich Text Editor: activates the WYSIWYG feature to format the text
If not Text area:
- Validation rule: defines how the value should be validated (such as an URL, an email, or using a regular expression)
EDIT A NUMBER ATTRIBUTE
- Decimal values allowed: allows decimal values for this attribute
- Min value: the smallest value allowed
- Max value: the largest value allowed
To allow positive values only, define a min value equals to 0.
To allow negative values only, define a max value equals to 0.
EDIT A SINGLE/MULTIPLE OPTIONS ATTRIBUTE
- The Manage options button enables to manage the options of the list
Manage the options
The single/multiple options attributes can be very useful to manage your tags on assets, since you can search for assets thanks to these options.
To define the options of a single/multiple options attribute, follow these steps:
- Go to the Attributes tab of an asset family
- Click on the Edit icon of the attribute
- An edit pop-in opens with the attribute parameters
- Click on the Manage options button
- A fullscreen opens to manage the options

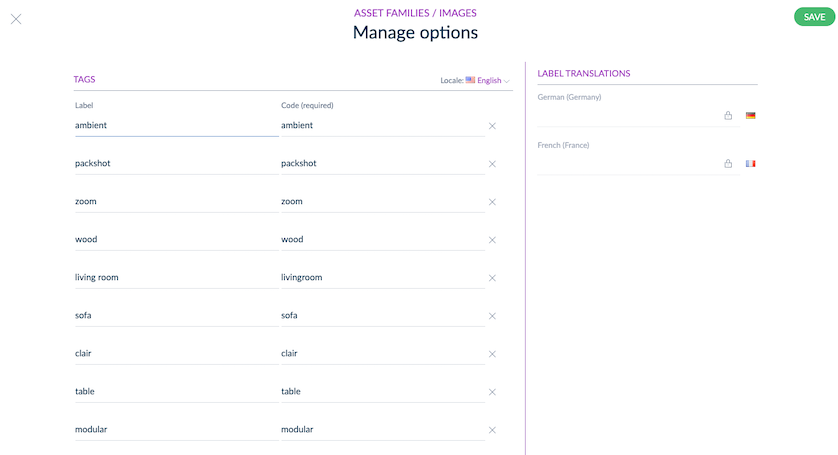
ADD OPTIONS
- Write your option label
- The option code is automatically generated using the label, but it can also be updated (this code must be unique and may only contain letters, numbers and underscores)
- Write your next option label
- Click on the Save button, the fullscreen is closed
The code can't be edited afterwards, you can only edit/translate the label.
To quickly input all your options:
- You just have to input the 1st option label
- Then press Enter
- Input the 2nd option label
- Then press Enter
- And so on...
To guarantee that the PIM is functional and runs smoothly, we defined a volume limitation of 100 options per attribute for this feature. If you try to create more than 100 options, you will have a blocking message.
TRANSLATE OPTIONS
- Change the catalog locale using the switcher
- Translate the option label
- Translate the next option label
- Click on the Save button, the fullscreen is closed
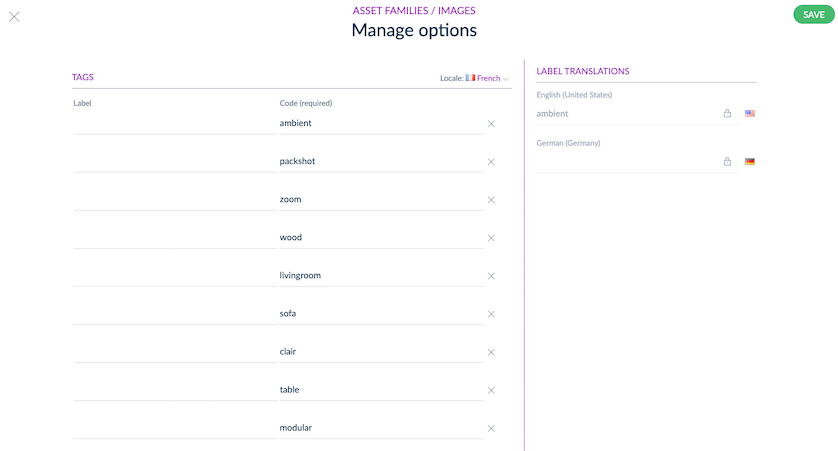
To help you for the translation, the labels of the option on other locales are displayed in the right panel.
To quickly translate all your options:
- You just have to translate the 1st option label
- Then press Enter
- Translate the 2nd option label
- Then press Enter
- And so on...
REMOVE OPTIONS
To remove an option, click on the cross at the end of the option line.
Define the completeness
To define the attributes required for the completeness of an asset:
- Go to the Attributes tab of an asset family
- Click on the Edit icon of an attribute
- Tick Required for completeness if this attribute is required for the completeness of an asset
- Click on Save or press Enter
If this attribute is not required for the completeness, untick Required for completeness.
Set an attribute as read only
If you don't want the users to be able to modify an attribute value:
- Go to the Attributes tab of an asset family
- Click on the Edit icon of an attribute
- Tick Read only in the UI
- Click on Save or press Enter
It can be useful if this attribute is automatically populated. For example, if this is a target attribute of a transformation, or if the value comes from a third party tool such as a DAM.
Delete an attribute
To delete an attribute, follow these steps:
- Go to the Attributes tab of an asset family
- Click on the Edit icon of the attribute you want to delete
- An edit pop-in opens with the attribute parameters
- Click on Delete the attribute
- A confirmation pop-in opens to confirm that you want to delete the attribute
- Click on the Delete button
The attribute and its relevant information will be deleted in the assets of the asset family. Once you have confirmed the action, it cannot be reverted.
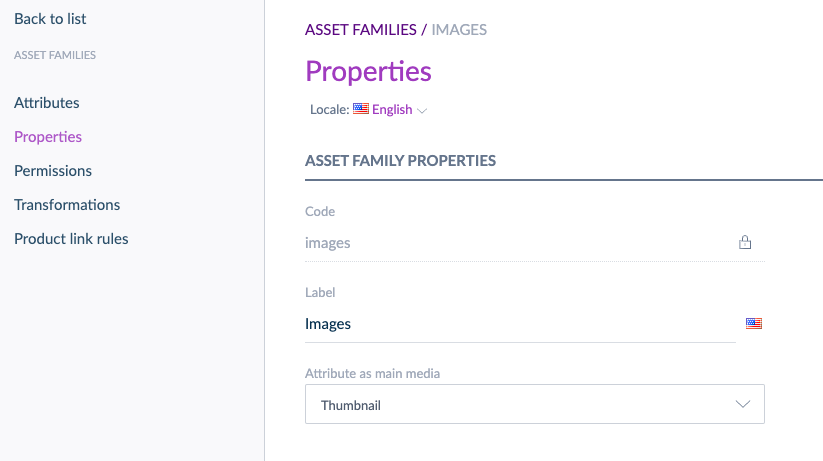
Define the asset family properties
In the Properties tab, you can edit the label of the asset family but also choose which attribute is used as main media for the assets of this family. The main media attribute is the attribute that:
- is used to be displayed in the asset grid and in the product grid,
- is used as the asset thumbnail on each asset page and product form that contains this asset
- is used to mass upload assets in the family.
You can choose to use either a media link or a media file attribute type.
As explained in the upload asset part, you can't mass upload asset in an asset family whose the attribute as main media is a media link attribute type.
You can also translate the label of the asset family by switching the current catalog locale in the header.
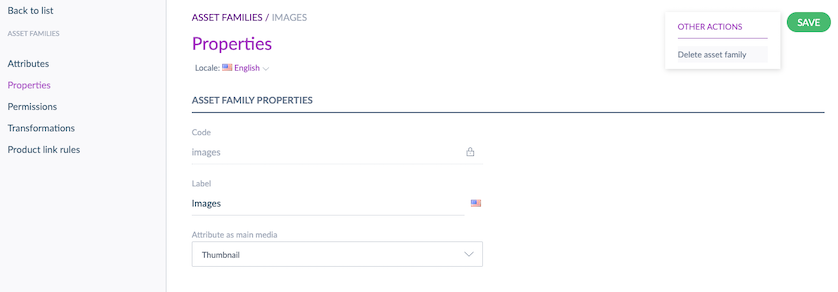
Delete an asset family
To delete an asset family, follow these steps:
- Go to the Properties tab of the asset family you want to delete
- In the top right corner of the header, click on ... for other actions and then Delete family
- A confirmation pop-in opens to confirm that you want to delete the asset family
- Click on Delete
You cannot delete an asset family if:
- This asset family has some assets: first, you need to delete the assets of this asset family.
- This asset family is linked to some product attributes: then, you need to delete the related product attributes to this asset family.
Define product link rules on an asset family
The product link rule enables you to automatically link assets to products, based on assets name or attributes. This rule is defined at the asset family level.
This rule is launched by the PIM after the asset creation.
The product link rule format is quite technical to define but if you want to go deeper into this powerful feature, this article is made for you 😉
You can have up to two different product link rules for one given asset family.
A piece of advice: when defining two different rules on an asset family, make sure you define different product selections in each rule, as shown in the example above. Why? Because you could experience performance issues. If you want to assign your assets to two different product attributes on a given selection of products, use one single rule, with two assignments in the assign_assets_to field.
Define asset transformations in an asset family
It is possible to define transformations at the asset family level. It means that, for each asset of a given asset family, transformations will be automatically applied.
The settings of the transformations is done via the API or via the UI, in the Transformations tab of an asset family. I recommend you to read this article to know how to define the asset transformations.
The following operations are available:
-
colorspace (change the image's colorspace)
- parameters:
- colorspace (string): one value among rgb or grey (mandatory)
- parameters:
-
scale (resize image while keeping the width/height proportions)
- parameters: (at least one of the following)
- width (int > 0): new width of the image in pixels
- height (int > 0): new height of the image in pixels
- ratio (int > 0): ratio (in %) ratio for the image resizing. If set, will take priority over the 2 other parameters
- parameters: (at least one of the following)
-
thumbnail (make a cropped thumbnail, image proportions are preserved)
- parameters:
- width (int > 0): width of the generated thumbnail in pixels (mandatory)
- height (int > 0): height of the generated thumbnail in pixels (mandatory)
- parameters:
-
resize (resize without preserving the proportions)
- parameters:
- width (int > 0): width of the new image in pixels (mandatory)
- height (int > 0): height of the new image in pixels (mandatory)
- parameters:
-
resolution (change image resolution)
- parameters:
- resolution-unit (string) one value among ppi, ppc (mandatory)
- resolution-x (int > 0) new horizontal resolution (mandatory)
- resolution-y (int > 0) new vertical resolution (mandatory)
- parameters:
The asset transformations are not mandatory, and you can define up to 10 transformations per family.
Set rights on an asset family
To set rights on an asset family, please read this article.