
View the assets list
To start, go to the Assets menu. From this page, there are many ways to work within the asset grid below.
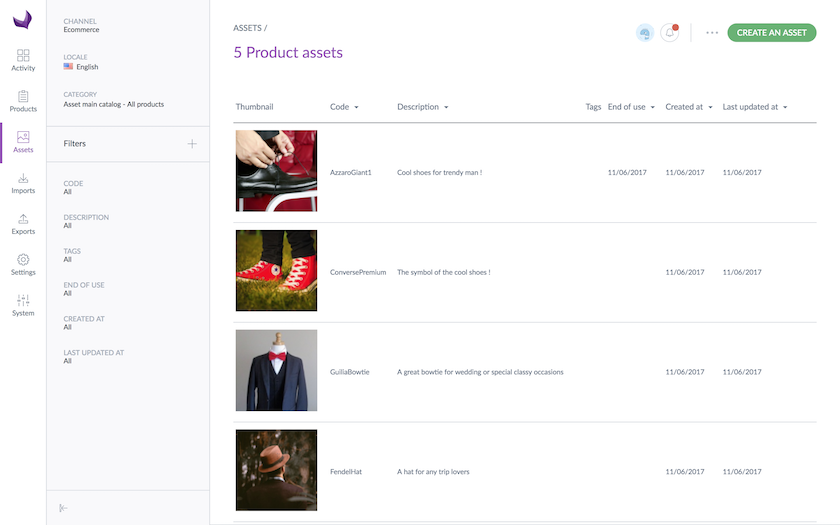
Set up your work environment
Like for the product grid, you can set up a locale and a channel context, you can reduce and expand the categories panel, and use filters to easily find the assets you are looking for.
For more information about the grid, please refer to the Get familiar with the grid article.
The filters can be applied on the following asset information:
- Code
- Description
- Tags
- End of use
- Creation date
- Last update date
The following information cannot be sorted out in the asset grid:
- Thumbnail
- Tags
Asset thumbnail images displayed in the grid are the selected channel's variations. If no image is displayed it is because you do not have any variations generated for this channel. See how to generate variations in the Edit the files of an asset part of this article.
Asset grid display
To highlight the assets images, a Gallery display is available in the asset grid.
Grid features also apply to this display (filters, channel, locale and categories selection, pagination, assets selection, etc.).
To use the Gallery display:
- Click on
Listto change the display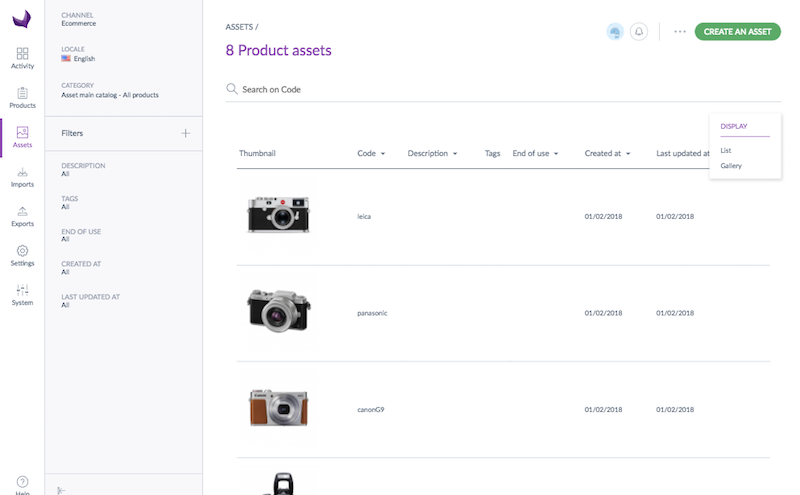
- Select the display
Gallery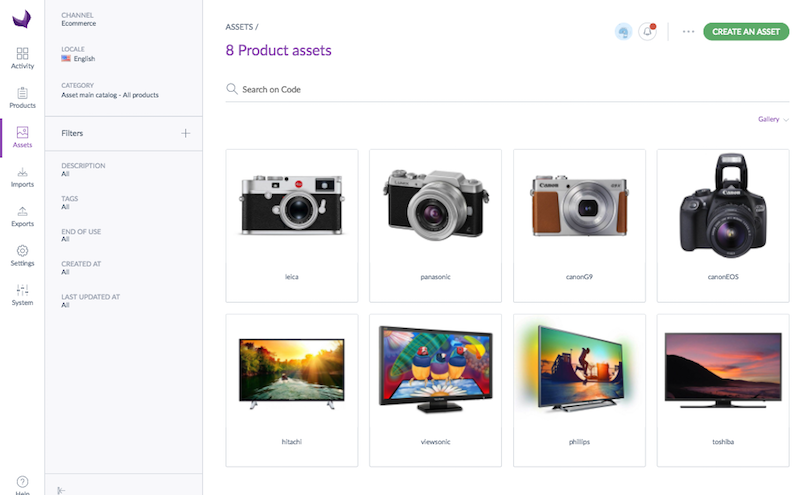
The context of the chosen display for the asset grid is kept.
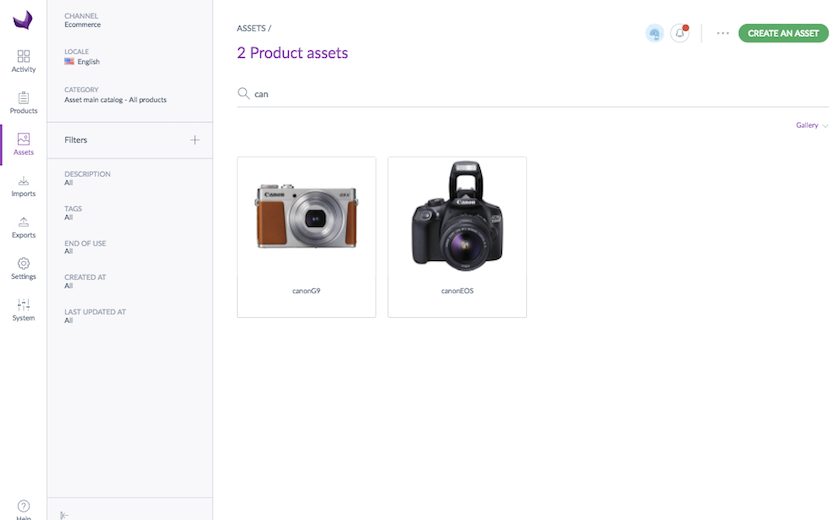
Search by code
To quickly find assets in the assets grid, you can search on the code.
The behavior of the search is a "contains" filter. For example, if you type in "can", it will display all the assets with a code which contains "can".
Create an asset
To create an asset in the PIM:
- Go to the
Assetsmenu - Click on the
Create an assetbutton in the top right corner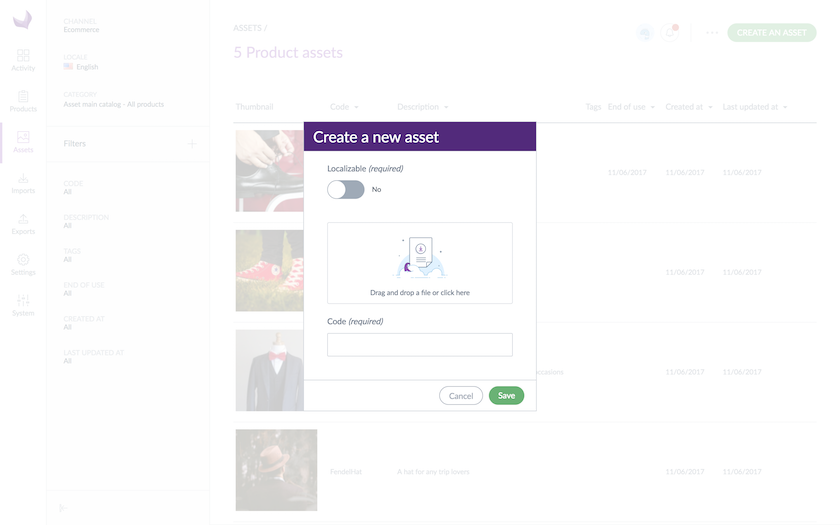
- Select if the asset you want to create is localized or not. Note: If it will be localized, the area to upload a reference file is hidden. If not, you can upload a reference file.
- If a file is uploaded as a reference file, a code is automatically generated based on the given filename. If not, the user has to put a code for the asset.
- Click on the
Savebutton.
The asset has been created and the asset form page is displayed.
You can also create assets by mass uploading files. For more information about this feature, see Upload assets.
Edit an asset
To edit an asset, open the asset form by clicking on the right row in the asset grid.
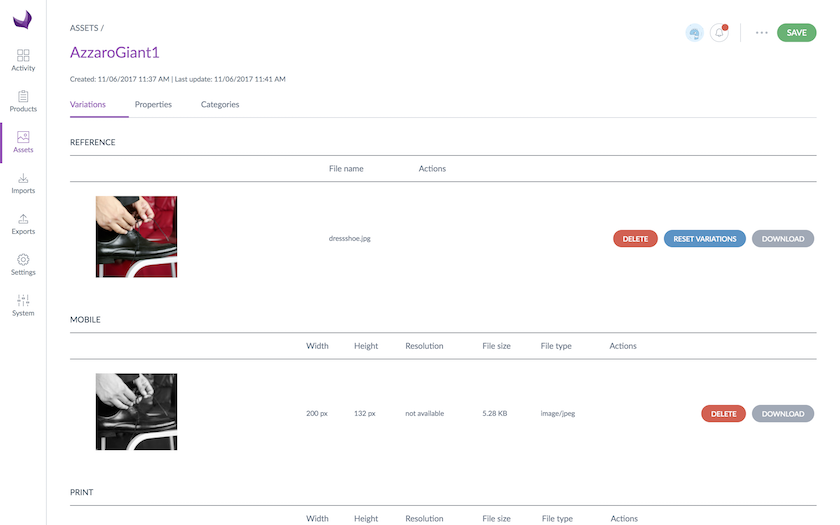
Edit the files of an asset
Click on the Variations tab.
You can either generate variations from a reference file, or put the variation files manually.
ADD A REFERENCE FILE
If you don't have any reference file for your asset yet:
- Drag and drop the file in the area or click in the area to open the dialog box and select the file to add
- Click on the
Savebutton
The reference file is added and the variation files are generated.
The loading time depends on the size of the file, the complexity of the transformations to apply and the number of channels.
DOWNLOAD A FILE (REFERENCE OR VARIATION)
To download a file, click on the relevant Download button.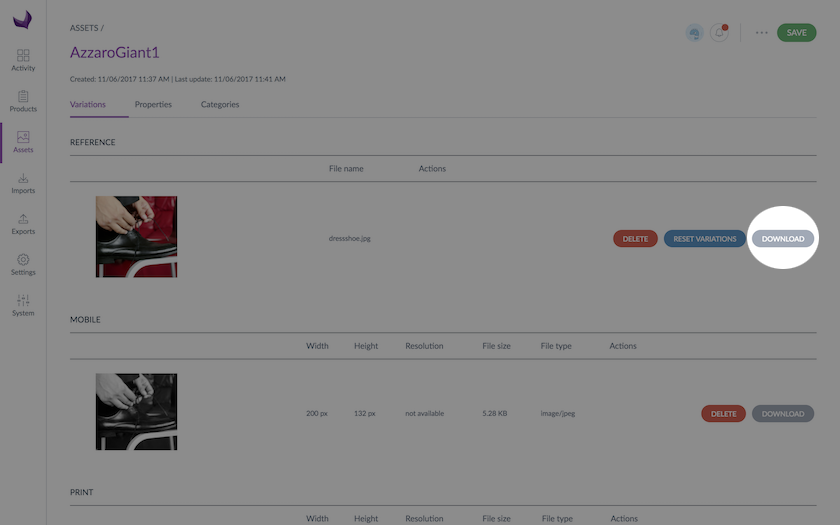
DELETE A FILE (REFERENCE OR VARIATION)
To delete a file, click on the relevant Delete button, and confirm the action.
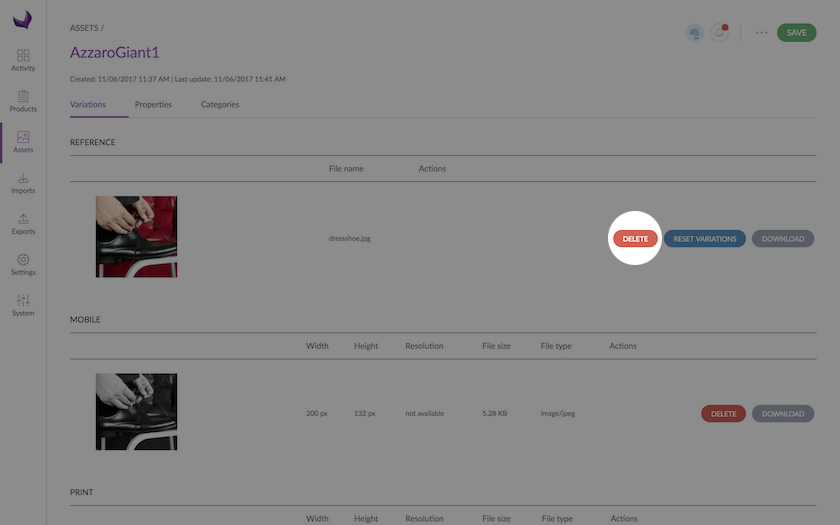
If you delete the reference file, the variation files will not be updated.
If you delete a variation file, it cannot be generated from the reference file automatically, except if you reset variations. See the dedicated section below.
GENERATE A VARIATION FILE FROM THE REFERENCE FILE MANUALLY
Click on the Generate from the reference file button.
This option is not displayed if there is no reference file.
GENERATE VARIATION FILES FROM THE REFERENCE FILE AUTOMATICALLY
Click on the Reset variations button in the reference file panel.
All the variations different from the reference file are updated. The others are not updated.
UPLOAD A VARIATION FILE MANUALLY
- Drag and drop the file in the area or click in the area to open the dialog box and select the file to add.
- Click on the
Savebutton.
The variation file will be no more related to the reference file.
Edit the asset properties
- Click on the
Propertiestab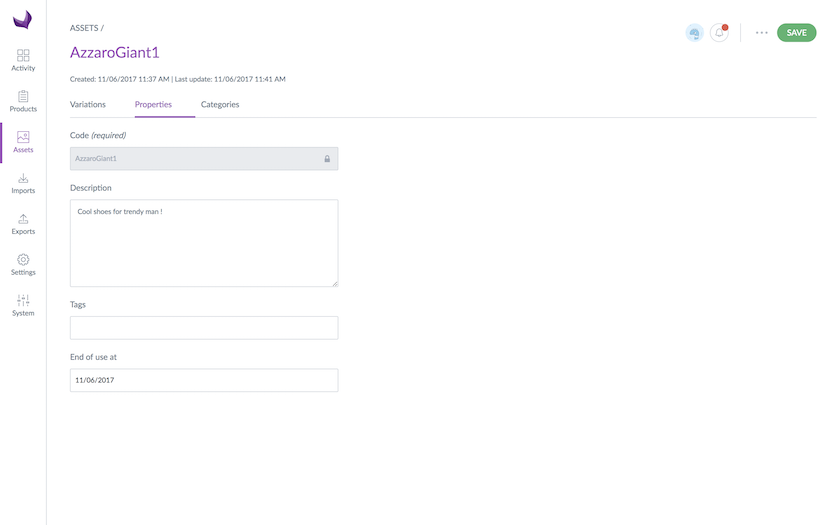
- Edit the properties you want to change
- Click on the
Savebutton
The code of an asset cannot be changed after its creation.
You can add:
- a description to give more details about your asset,
- tags that will help you work with your assets,
- an end-of-use date for each asset could be very useful if you want to receive a notification a few days before your asset license expires. To enable this option, please refer to the Manage your account article.
Create a new tag for an asset
When a tag is not available, if you continue to type it, you can use the Enter button of your keyboard to tell the PIM that you want to create the tag. It will be automatically created and it will be then available for other assets.
Classify the asset into categories
An asset can be classified in one or more categories, but can also be left out of any categories in the PIM. The asset can either be classified in several categories of the very same tree or in different ones.
To classify one asset:
- Click on the
Categoriestab - Click on the name of a tree you want on the left hand side
- Check the categories in which the asset has to be classified
- Uncheck the categories in which the asset should no longer be listed
- Click on the
Savebutton to confirm your changes
Delete an asset
An asset can be removed from the PIM. This means that all the relevant asset information will be deleted in the PIM. This action cannot be reverted.
- Open the asset form you want to delete
- Click on the
...button and then selectDeletein the dropdown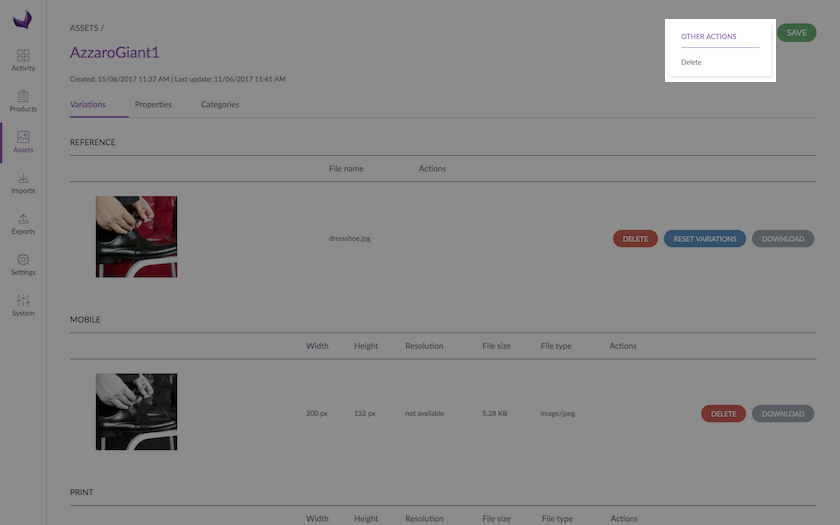
- Confirm the action in the popin
Mass actions on asset
Mass add tag to a selection of assets
To save time you can mass add tag to an asset:
- Select the assets thanks to the checkboxes in front of each asset row
- A menu appears at the bottom of the screen. Click on the
Mass edit assetsbutton - Select
Add tags to assetsand click on theNextbutton in the top right corner - Select the tags you want to add to your assets
- Click on
Next - To finish, click on
Confirm
A push message is displayed and the notification center displays a new notification.
If some of the tags you added don't exist, they will be automatically created.
Mass move assets into categories
You can move a selection of assets in new categories at once to earn time. The old categorization will be lost.
- Select the assets thanks to the checkboxes in front of each asset row
- A menu appears at the bottom of the screen. Click on the
Mass edit assetsbutton - Select
Classify assets in categoriesand click on theNextbutton in the top right corner - Select the category in which you want your assets to be moved
- Click on
Next - To finish, click on
Confirm
A push message is displayed and the notification center displays a new notification.
Mass delete assets
You can delete a selection of assets at once to earn time.
- Select the assets thanks to the checkboxes in front of each asset row
- A menu appears at the bottom of the screen. Click on the
Delete assetsbutton - Click on
Deleteto confirm your action
Like a delete of a single asset, this action does not delete asset from the server.
Export assets
To export assets, you need to use several export profiles, first of all, run a basic product export: it contains the assets codes associated to products. Then, you can run an assets variation export to get the asset's path on the server. In the exported file, you can find the original asset file path in the reference_file column and its channel's variations in the variation_file column.
Assets are not available through a URL nor exported in a zip folder like pictures.
If you need the actual files, it's possible! Since asset files are stored in the app/filestorage folder, you can set up a cron task or a script to automatically export them to a FTP for instance.