
Manage your user groups
Thanks to the user groups, you will be able to grant access to your PIM users to only certain parts of your dear catalog of products and assets. If you want to know more about what is a user group, take a look to this article.
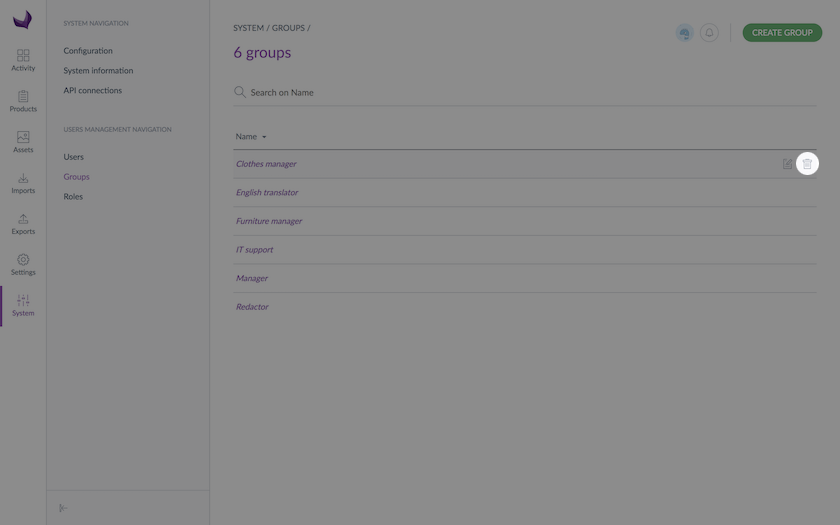
View the user groups list
To see which groups have been created:
- Log in with a user account witch has the rights to see the groups
- Go to System and click on the Groups entry
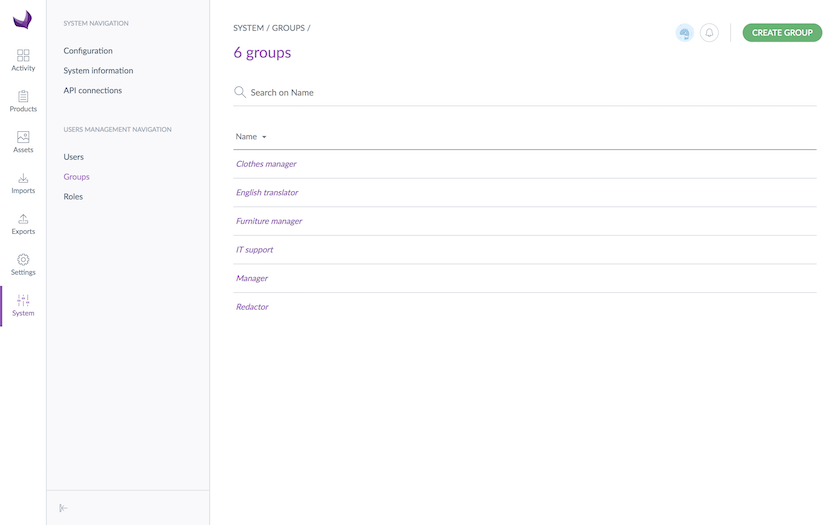
- To see the details of a user group, click on a line in the group to view the information available
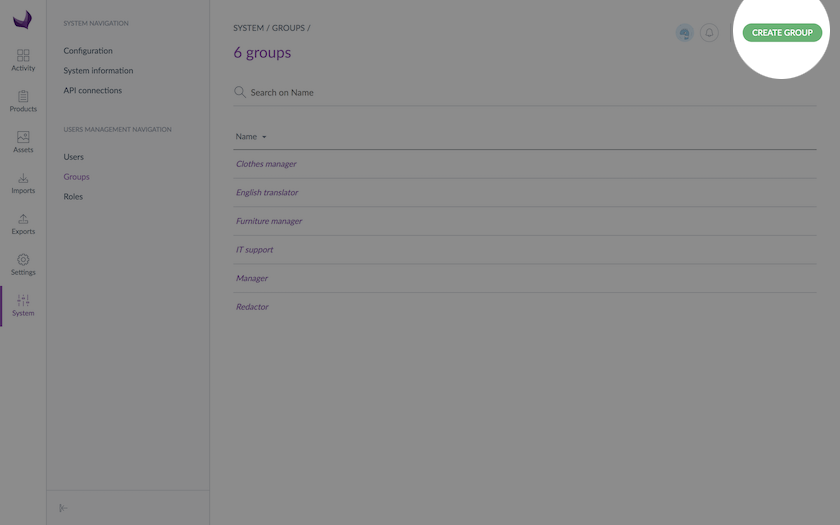
Create a user group
- Log in with a user account with the rights to create a group
- Go to System and click on the Groups entry
- Click on Create group button to generate a new user group
- Fill the form to name the group
- Click on the Save button to save the newly created group
Edit the name of a user group
- Log in with a user account with the rights to edit a group
- Go to System and click on the Groups entry
- Click on the group name to modify
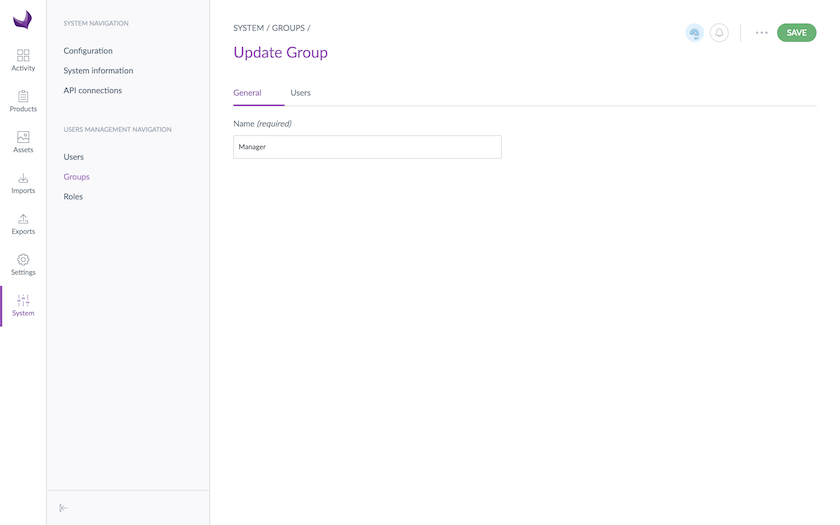
- Change the name of the group
- Click on the Save button to update the user group
Put your users inside your user groups
Assign users to a user group
When a user is created, this latter can be added to at least one of the groups that have been created in the PIM.
Assigning a user to one group or several groups, allows him/her to have permissions on the catalog.
To edit the users associated to a group:
- Log in with a user account with the rights to edit a group
- Go to System and click on the Groups entry
- Click on the user group to modify
- Click on the Users tab in the form that just opened
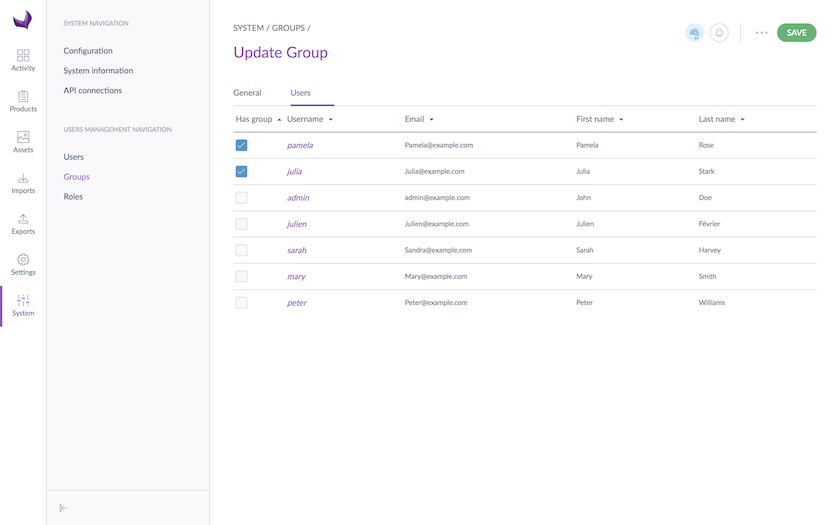
A grid of users is displayed with the users belonging to the group. They can be easily identified by the check box in the first column Has group.
- Look for the users and check the box to add the users to the group. And the other way around, uncheck the box to withdraw the users from the group
- Then click on the Save button to update the group
The rights which have been granted to or removed from users (added to or removed from the user group) are automatically applied.
Move a user to another group
- Go to System and click on the Users entry
- Click on the user to proceed
- Click on the Edit button
- Click on the Groups and Roles tab
- Check / uncheck the groups to add or remove the user from these groups
- Click on the Save button
Delete a user group
Before deleting a group, you should check first if the specific group is used to entitle access rights to other users.
To delete a user group:
- Log in with a user account with the rights to edit a group
- Go to System and click on the Groups entry
- You have two ways to proceed:
- Click on the user group to be deleted and click on the Delete button on the top right
- Click on the 🗑 button that appears at the end of the line of the user group you want to delete, in the grid
- Then confirm the message for the deletion of the group
Please check first the potential impact of the removal of a group in which users are included. For instance, if the group membership was the only way for a user to have a specific right, then due to the group deletion, the user will have no longer his access right in the PIM.