
Give access to the Flexibility cloud server
This document explains the steps to connect to your Flexibility cloud server.
To connect, you need to have your ssh key allowed. The connection also has an IP-range restriction. Thus you need to allow both SSH key and IP addresses to access your Cloud environments.
The Project manager on the customer side and the system integrator are the only ones allowed to add or remove SSH accesses or whitelist IP addresses on a given cloud instance for the contacts from their company.
Add your ssh key to access your Flexibility instance
Every user that needs to get the bootstrap archive has to share their SSH public key with Akeneo first. See how to provide access and manage users and keys here.
Once the contacts are created and their keys imported, the project manager can add them to the project.
- First from the menu, go to Project console / Projects and select your project
- Go to the Cloud instance tab, and open the instance by clicking on the instance line
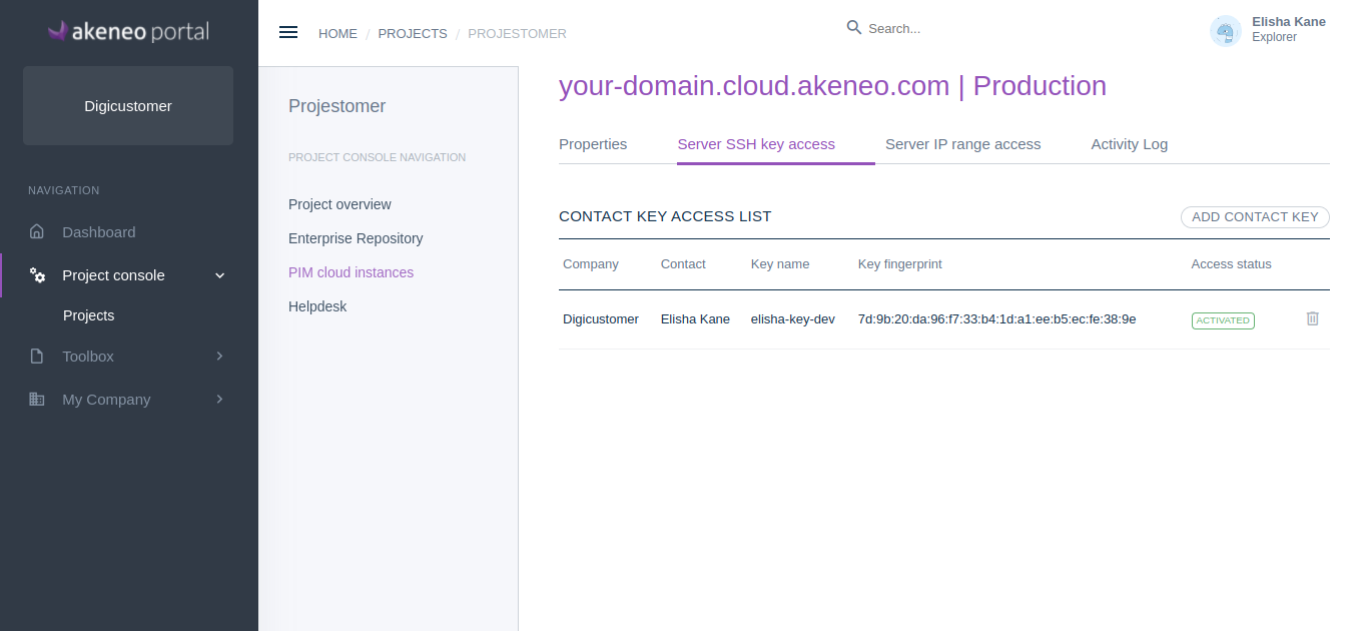
- Open the Server SSH Key Access sub-tab
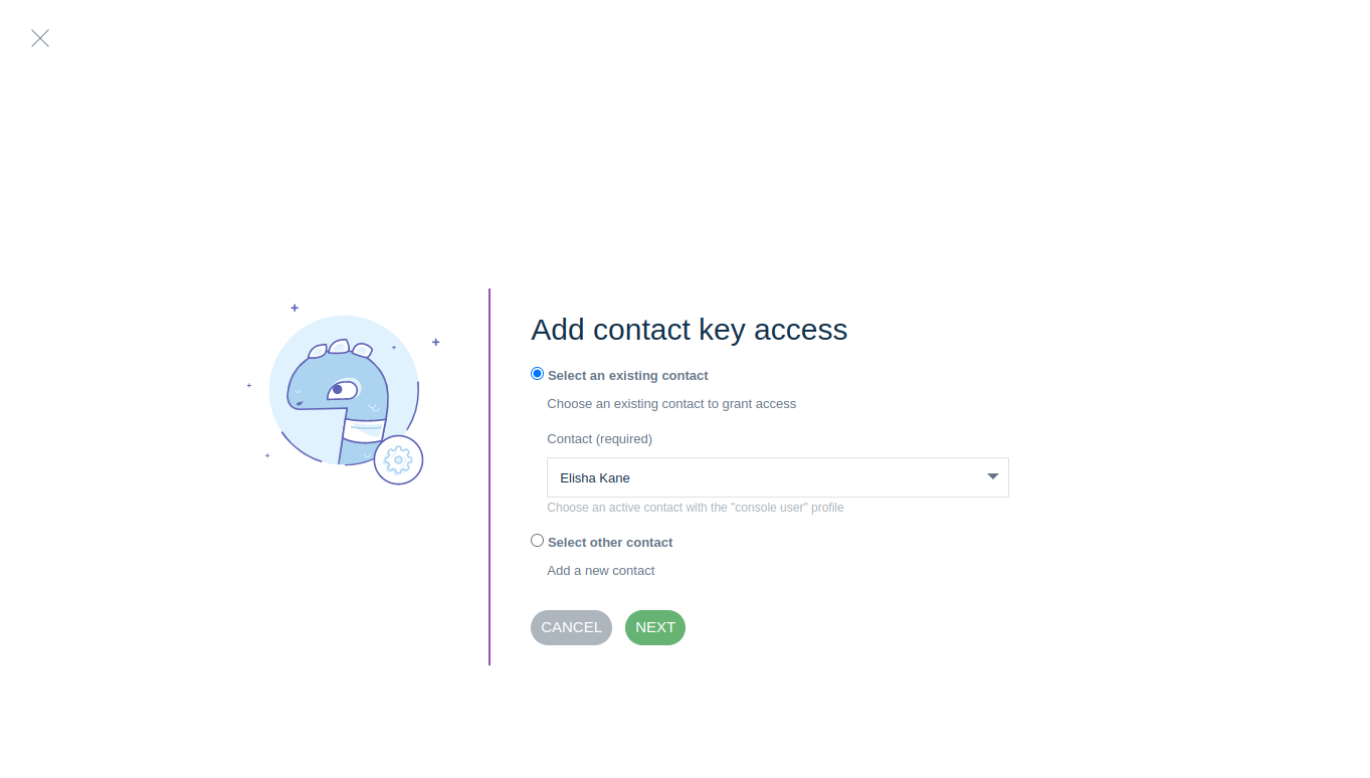
- Click on Add contact key
- Select Select an existing contact
- Select a contact. The list contains the contacts from your company with the profile Console User
- Select an existing public key on the list
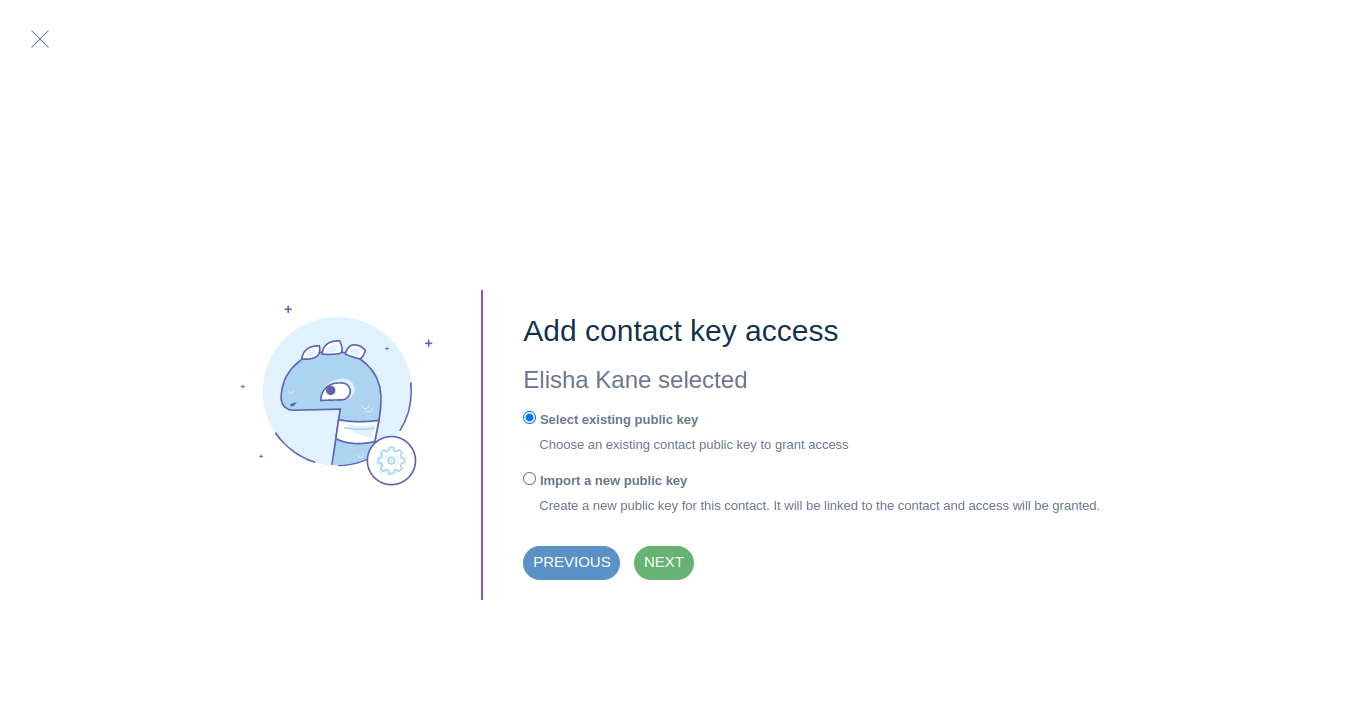
- Or import a new public key for this contact, by clicking on Import a new Public Key
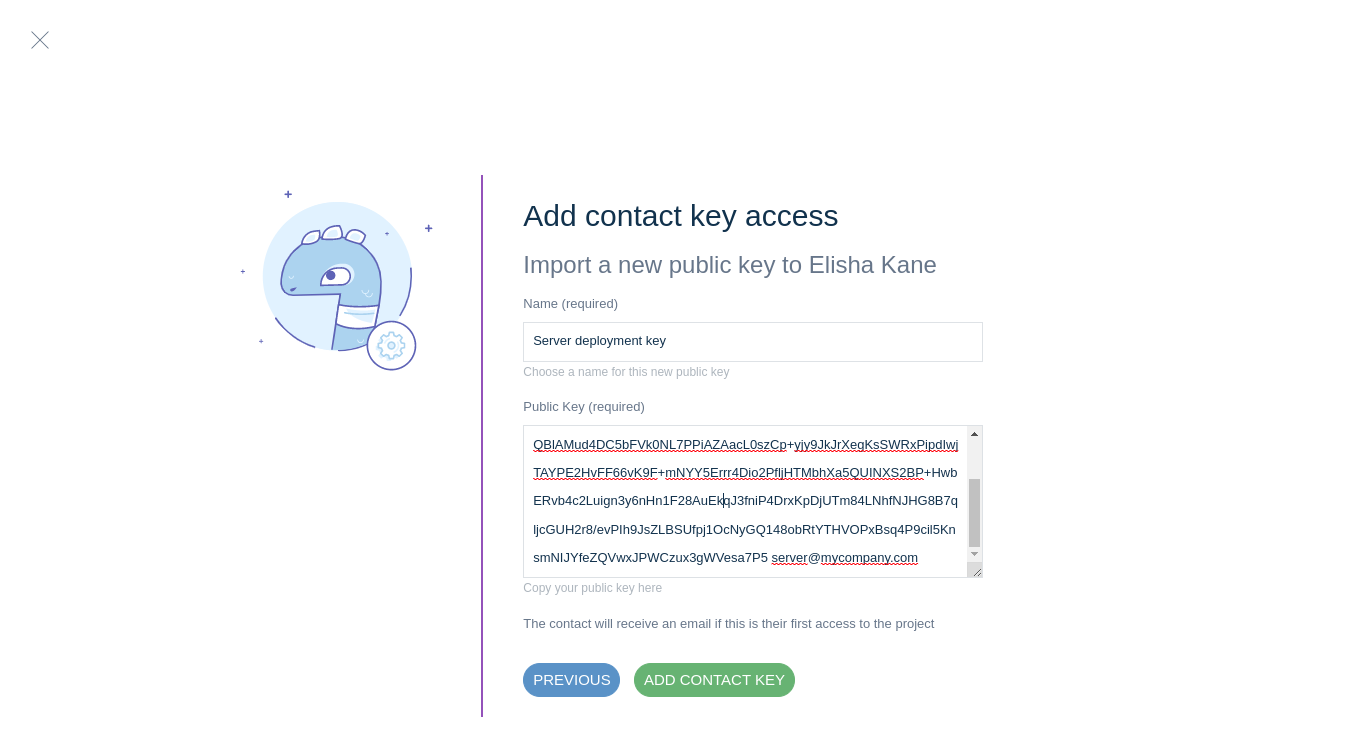
- After the information has been added, click Add contact key
The SSH key access is not instantaneous. Initially, the status will be Activation pending and then will change to Activated once the access is given.
Add access to your flexibility instance to an already existing contact from another company.
- Click on the Add contact key button
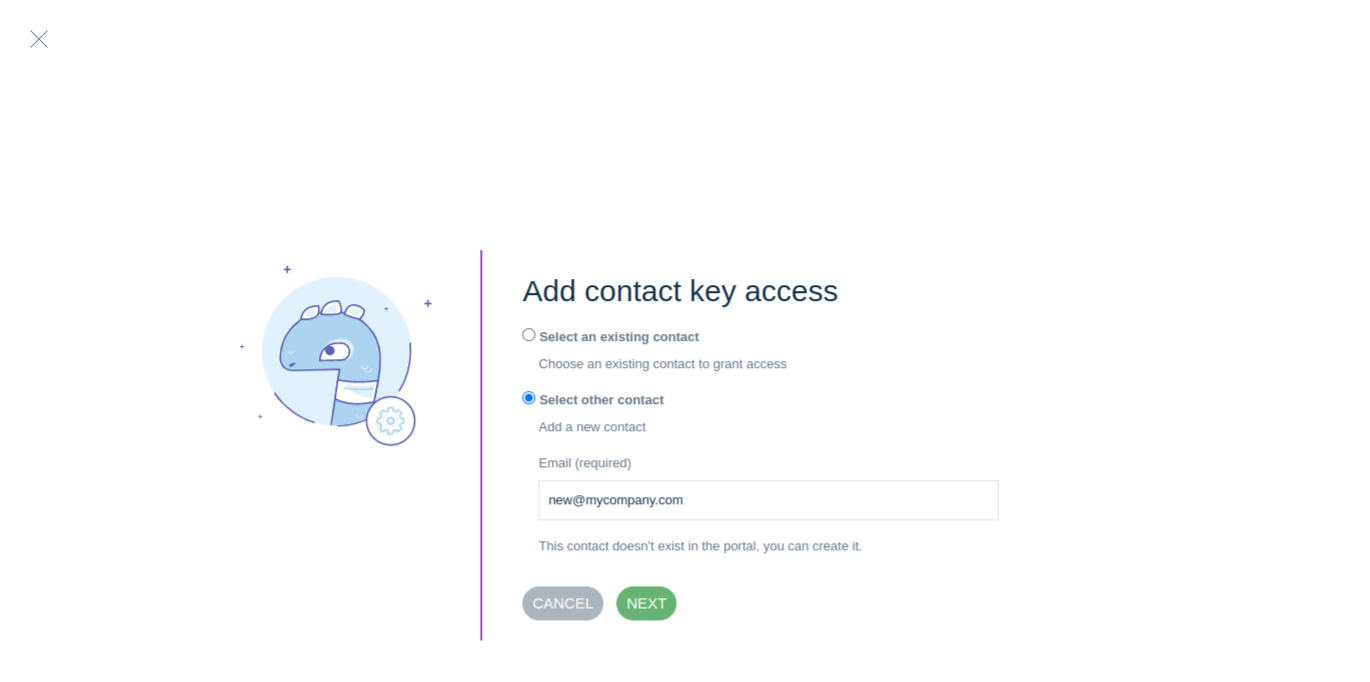
- Select Select other contact
- Enter the email of the contact, This contact exists in the portal. must appear.
- Enter the name of the key and the public key.
- Click on the Add contact key button to approve the key.
Add access to your flexibility instance to a new contact
Supervisors or Project Managers have the possibility to create a new contact from this form. It is possible to attach this contact directly to your company or to declare it as external. The external contact will be visible from the contacts of your company and will be removed from your company if they are no longer linked to your company. For example, if you delete their access.
- Click on the Add contact key button
- Select Select other contact
- Enter the email of the contact you want to create, This contact doesn't exist in the portal, you can create it must appear.
- Choose if the contact is from the company or an external one.
- Fill in the contact information.
- In the case of a company contact, you can assign them to different groups
- Enter the name of the key and the public key.
- Click on the Add contact key button to approve the key.
The new contact will receive an email to define their password, and an email indicating that they have access to the flexibility instance.
Add an IP Range allowed to access your Flexibility instance
- First from the menu, go to Project console / Projects and select your project.
- Go to the Cloud instance tab, and open the instance by clicking on the instance line.
- Open the Server IP Range Access sub-tab
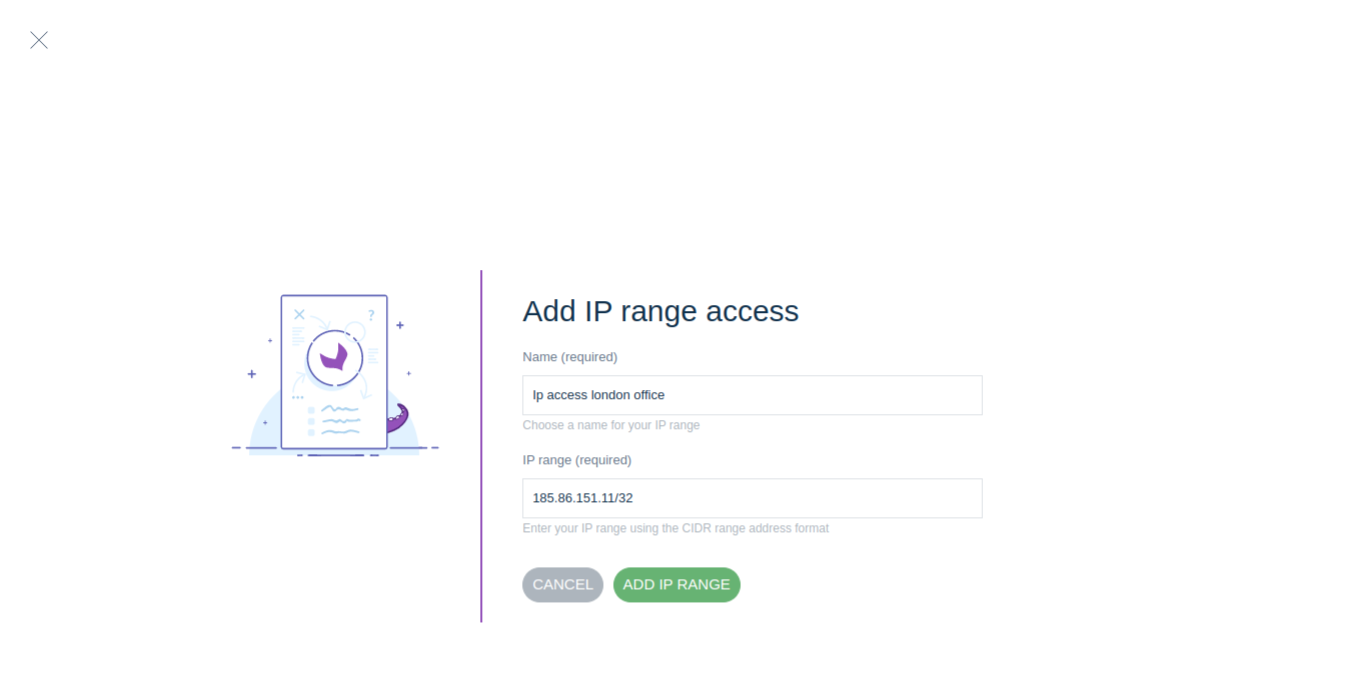
- Click on Add IP Range
- Input your IP Range
- Click on Add IP Range to submit your IP Range for creation
IP addresses are not immediately whitelisted. Initially, the status will be Activation pending and then will change to Activated once the access is given.
Remove access to the Flexibility cloud server
Removing a SSH key from the instance
- First from the menu, go to Project console / Projects and select your project.
- Go to the Cloud instance tab, and open the instance by clicking on the instance line.
- Open the Server SSH Key Access sub-tab
- Click on the Trash bin to open the confirmation modal
- Click on Delete on the confirmation modal to remove the access
The SSH key removal is not instantaneous. Initially, the status will be Deletion pending and then will disappear from the list once deleted.
Removing an IP Range from the instance
- First from the menu, go to Project console / Projects and select your project.
- Go to the Cloud instance tab, and open the instance by clicking on the instance line.
- Open the Server IP Range Access sub-tab
- Click on the Trash bin to open the confirmation modal
- Click on Delete on the confirmation modal to remove the access
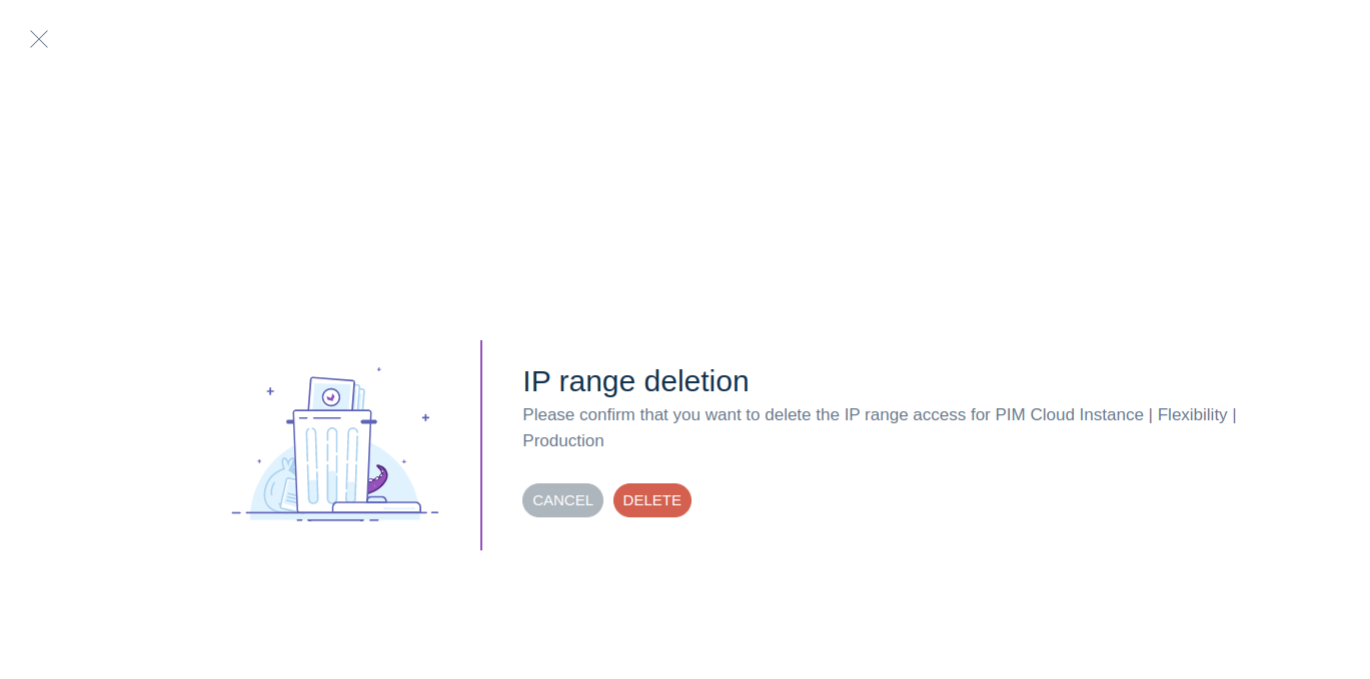
The IP Range removal is not instantaneous. Initially, the status will be Deletion pending and then will disappear from the list once deleted.