
Overview
This feature allows you to provide your product information to third-parties like e-commerce platforms, mobile applications, suppliers... or more simply, if you want to extract information from the PIM for your own usage.
You have several ways to export your product information:
- You can manually download the export file: you execute the job from the PIM user interface and you download the generated file.
- You automatically send the export file to the third-party, by setting a path in the export profile configuration enabling the PIM to automatically drop the file when executing the command.
When exporting data, Akeneo PIM extracts data from the PIM and converts it into a certain format to a file or directly to a third party application (eg Magento).
You can export product data, of course, but also catalog entities such as the families, the categories, the attributes...
Steps of an export
File export process is really simple. It consists in:
- Creating an export profile (see below for more information about it)
- Launching the CSV or XLSX file export
What is an export profile?
An export profile allows to perform exports from the PIM. This profile format is based on:
- A code to identify the export profile
- A job to define what will do the export when executing. For instance, a category export in XLSX file or a product export in CSV to a Magento platform
- A set of configuration fields, available as a form in the PIM. Each export profile can have its own configuration.
Browse your export profiles
To view the available export profiles:
- Log in with a user account with permissions to View the list of profiles for exports
- Go to the Exports menu
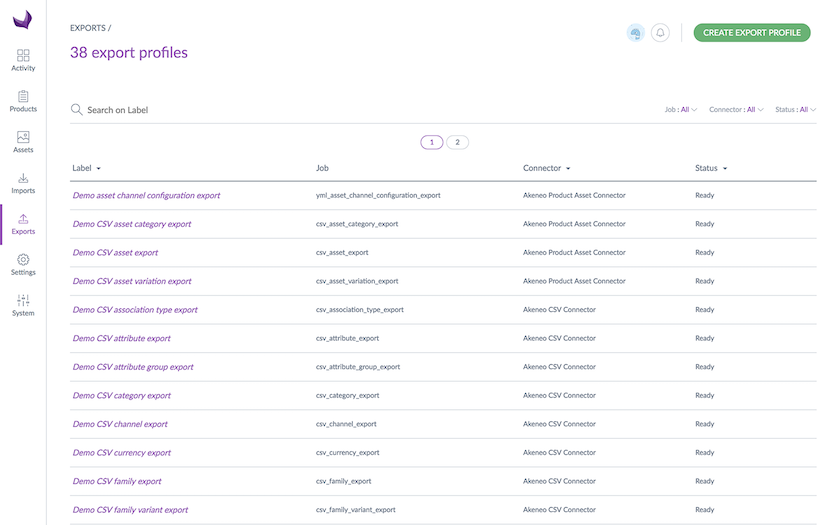
- To narrow down the list of displayed export profiles, use the available filters above the grid or the search bar that will search on the label
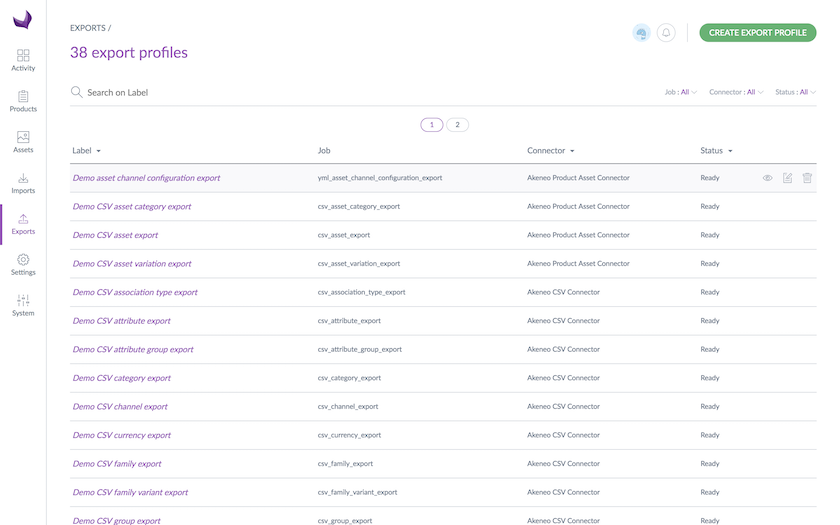
To see the information of an export profile, click on the row in the grid
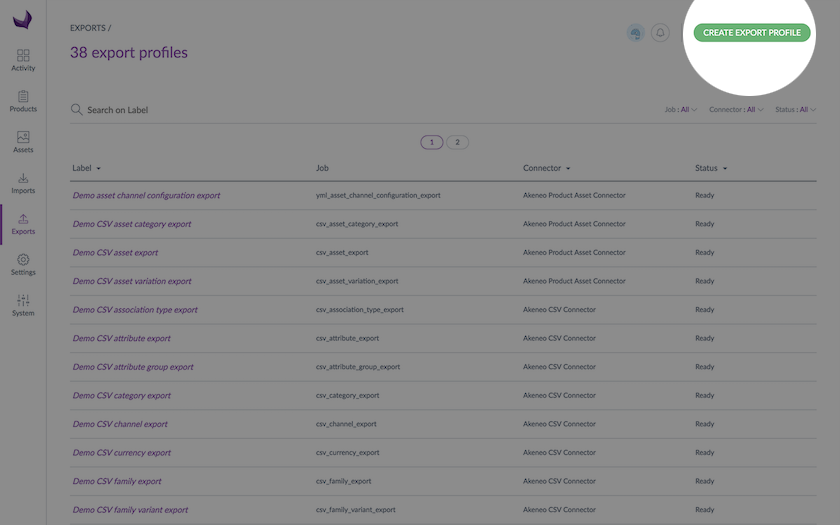
Create a new export profile
To create a new export profile:
- Log in with a user account with Create an export profile permissions
- Go to the Exports menu
- Click on Create export profile
- All fields in the pop-up window must be filled in:
- A unique code
- A name to identify the profile more easily
- A job according to what you wish to export
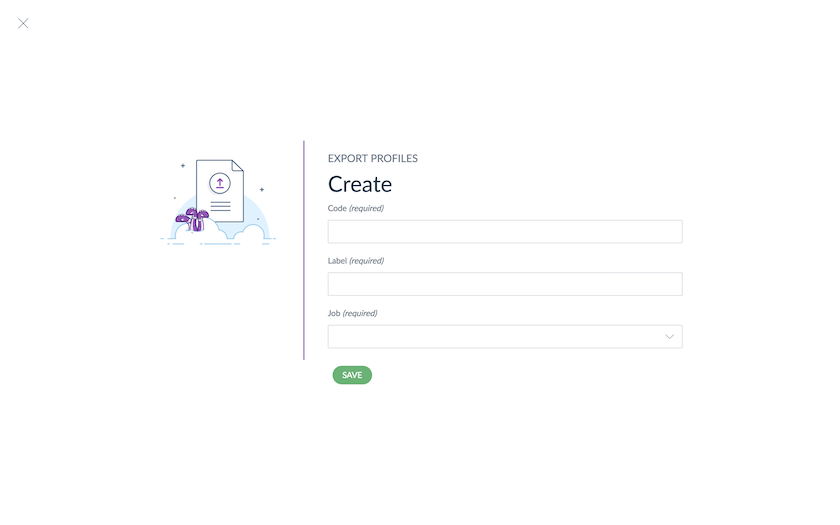
- Click on Save to finalise the export profile creation. The profile page screen is displayed. You can then configure it.
Update an export profile
To update an export profile:
- Connect with a user account
- Go to the Exports menu
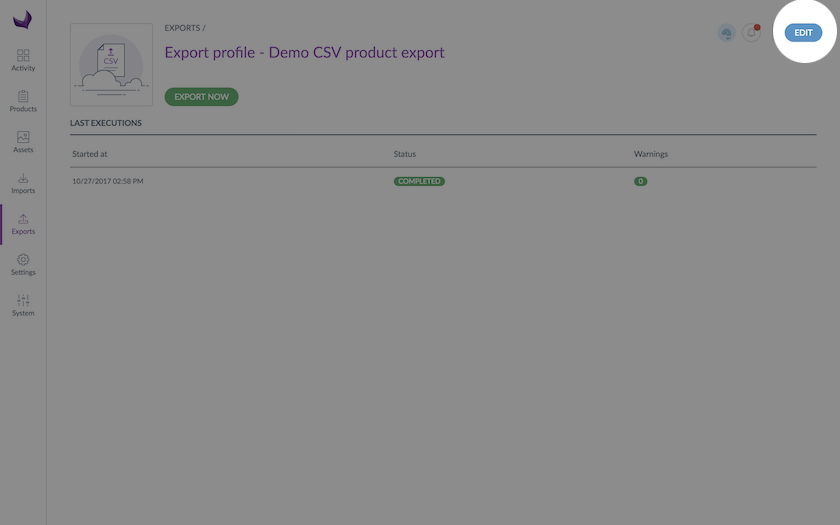
- Click on the export profile that needs to be modified
- Click on the Edit button
- Make your changes
- Click on Save to update the profile
In the tab General properties, you can edit the label of your profile.
In the Global settings tab, properties depend on the export job. For example, for the CSV product export, you will find the following properties:
| Property | Details |
| File path | Defines where to export the generated file (not available in Serenity offer) |
| Decimal separator | Defines the character used as decimal separator in the exported file |
| Date format | Defines the format used for dates in the exported file |
| Delimiter | Defines the character to delimit the fields in the CSV file |
| Enclosure | Defines the character for the field enclosure in the CSV file |
| With header | Defines if the first line of the exported file contains the columns names |
| Export files and images | Disable the media archiving of images, images will not be exported in the file and the image column will not be present in the export |
| Number of lines per file | Defines the limit number of lines per file for XSLX export |
In the case of products and published products exports, you will see that there is an additional tab called Content. In this tab, you will be able to define precisely which product or published product data you want to export. To find out more about this feature called Product export builder, take a look at this article.
Run an export
How to
- Go to the Exports menu to see the list of available export profiles
- Select the export profile to execute, and click on the relevant line
- The export profile page is displayed. Click on the Export now button
- The page of the export execution is prompted. The page refreshes continually to let know at what stage the export is
When the export ends, a notification is available on the top right corner of the PIM.
An email can also be sent depending on your user configuration. For further details on this, please refer to the Manage your account article.
With the user groups rights (EE only)
RIGHTS ON THE PRODUCT INFORMATION
In the case of product and published product exports, the PIM takes into account your permissions based on the user groups you are in:
- you do not have a view right on the products that are in the Goodies category, you won't be able to export any information about these products
- you do not have a view right on the Marketing attribute group, you won't be able to export the product information of the attributes in this attribute group
- you do not have a view right on the de_DE locale, you won't be able to export any product data regarding this locale
If you want to know more about how the rights on product data works in the PIM, take a look to the Access rights on products article.
RIGHTS ON EXPORT EXECUTION
The permission to execute exports can be customized for each export profile. So if you cannot launch an export, be sure that you have the right to run it in the Permissions tab of your export profile in edition mode. See the Access rights on imports/exports article for more details.