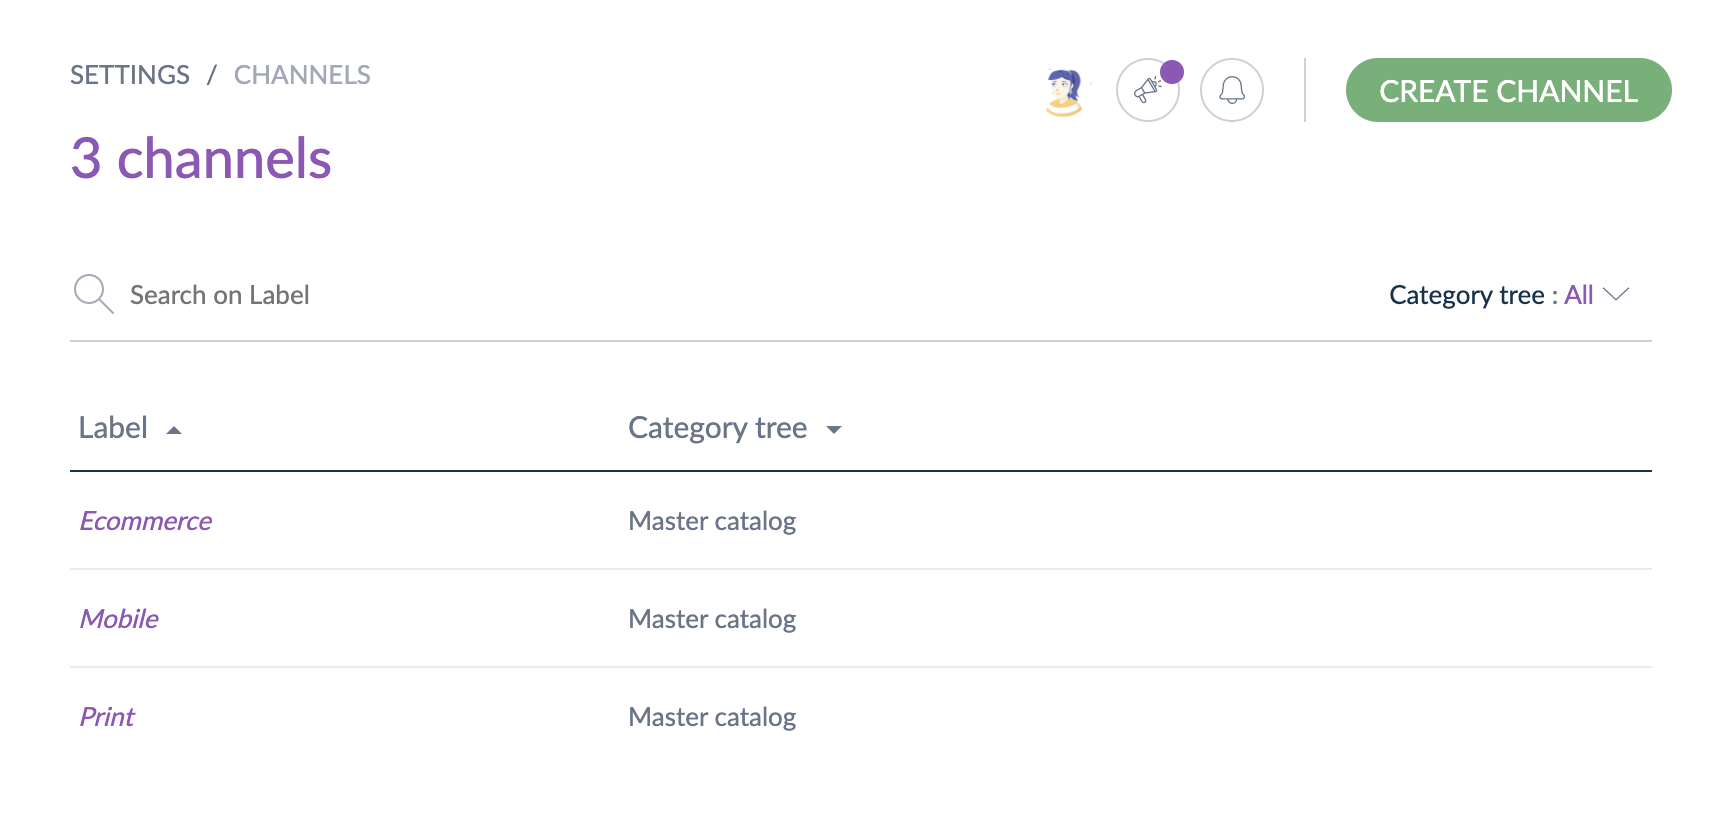
List channels
To see your current channels, go to Settings/Channels.

Create a channel
You must be granted a specific permission to be able to create a channel.
- Go to Settings/Channels
- Click on the Create channel button

- The creation form of a channel is displayed
- Provide information for all the mandatory fields in the property tab, such as:
- A unique code to identify the channel in the PIM
- The currencies for the channel
- The locales to activate for the channel: this information will be used to select which product information will be exported for this channel (via the selection of locales and currencies)
- The expected category tree for the channel: this information will be used to select which products will be exported for this channel (via the tree selection)
- The labels for the activated locales
- The conversion unit for each measurement attribute that will be used for the product export
- Click on the Save button
The channel is now created.
One channel can only be linked to one category tree.
Our platform is optimized to handle up to 100 channels and up to 300 channels x locales combined (This is the total number of locales enabled across all channels. If one locale is used across several channels, it will be counted several times, i.e. once for each channel). This helps us maintain the best performance and safeguard against potential misuse. You can view these figures in System > Catalog Volume Monitoring.
However, should your requirements extend beyond these boundaries, we encourage you to engage with your Customer Success Manager. They will work with you to explore tailored solutions that accommodate your specific needs effectively.
Edit a channel
To edit a channel:
- Go to Setting/Channels
- Click on the channel you would like to edit
- Make your changes
- Click on the Save button
The channel is updated accordingly. The changes will be reflected in the PIM in the next few minutes.
Check the channel history
Changes made on a channel are recorded and visible under the history tab of channels. For example: label change, attribute change, etc.
For each change, a version of the channel is created. The following information is tracked down for each version:
- The person or system that generated changes
- The date and time (down to seconds) at which the changes took place
- The old value and the new value of each modified field
To view the versions of a channel:
- Open & edit the channel tab
- Click on the History tab, and the list of versions will be displayed.
Unlike products, you cannot revert changes made on a channel.
Delete a channel
This operation cannot be reverted.
You have two ways to proceed to delete a channel. Through the channel form:
- Go to Settings/Channels to list the channels
- Click on the channel to delete
- Click on ... for other actions and then Delete on the top right corner

- Confirm the action via the validation message
Through the Delete shortcut in the grid:

- Select the channel you want to remove from the channel grid
- Place your mouse over the line of the channel in the grid; the button delete is prompted (bin icon)
- Click on the trash can icon
- Confirm the action via the validation message
The channel will be removed from the PIM.
Set permissions on channels
Like locales, you can define specific user permissions on channels. Check the Set Rights depending on the channel article to know how to add/remove permissions on channels.


