Follow these key steps to unlock Shared Catalogs
Create a connection in your PIM dedicated to Shared Catalogs
Create a connection in the PIM
To use Shared Catalogs, you need to create a connection in your PIM instance dedicated to Shared Catalogs. Shared Catalogs will use the credentials associated with the connection to connect to the PIM and synchronize your latest product information.
To help you generate this connection, you need to follow these steps:
- First, connect to your PIM instance.
- Click on Connect.
- Then click on Connection settings.
- Click on Create.
- In the Label field, enter the name of your connector: Shared Catalogs.
- Choose the flow type: Data Destination
Note: the code of the connection is automatically generated based on the label. You can keep it as is or change it, it's up to you!
You're done! 🎉
Once you have created your connection, you can assign a visual to it to be able to quickly see which connection it refers to.
Grab your credentials
Whenever you create a connection, the PIM automatically generates a set of credentials for you. These credentials are necessary for making API calls to the PIM. Don't hesitate to learn more about the authentication over the API on our dedicated API website.
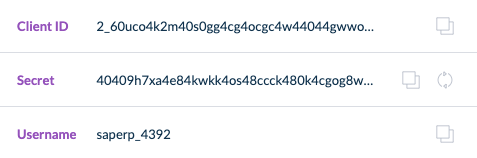
These credentials consist of 4 different strings:
- the client id,
- the secret,
- the connection username,
- the connection password.
To access the client ID, the secret, and the username, go to Connect / Connection settings, and click on the connection for which you want to see the credentials. They are displayed on the right side of the screen in the Credentials column.
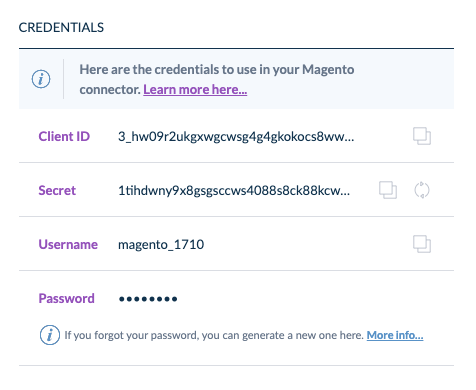
You can easily copy/paste the credentials by clicking on the copy icon next to them.
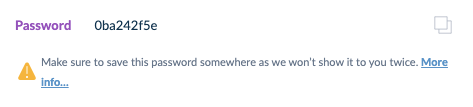
The password is only displayed to you once, just after the connection is created. So, make sure you save it somewhere secure. When the password is visible, a copy icon is next to it for an easy copy-paste. 😉
Have you forgotten your password? Don't worry, you can regenerate a new one. Take a look at the “Revoke/regenerate your connection secret section”.
If the password of a connection that has already been used is regenerated, this new password needs to be updated as soon as possible in the Akeneo Portal. More details in the Update your PIM API connection credentials section.
Set the permissions
This is a critical step to ensure the Shared Catalogs are accessible to all your designated recipients. To set up the permissions, please follow these steps.
Make sure that all the WEB API Permissions are enabled for the selected role of the API connection dedicated to Shared Catalogs. This will allow us to synchronize all wanted product data.
Make sure that the selected PIM user group used for the API connection dedicated to Shared Catalogs has all the permissions on the Categories, Locales, and Attributes Group. If you don't, you may end-up with incomplete or missing products in your catalogs.
For more details about the connections, please have a look at this article.
Set up your Shared Catalogs instance
The Akeneo Shared Catalogs instance creation is managed from the project console of the Akeneo Portal.
Following the purchase of a Shared Catalogs instance, an email is sent to the Shared Catalogs administrator inviting them to fill out the setup form to create the instance.
You can either set up the instance from the link in the email or by accessing the instance configuration page on the project console.
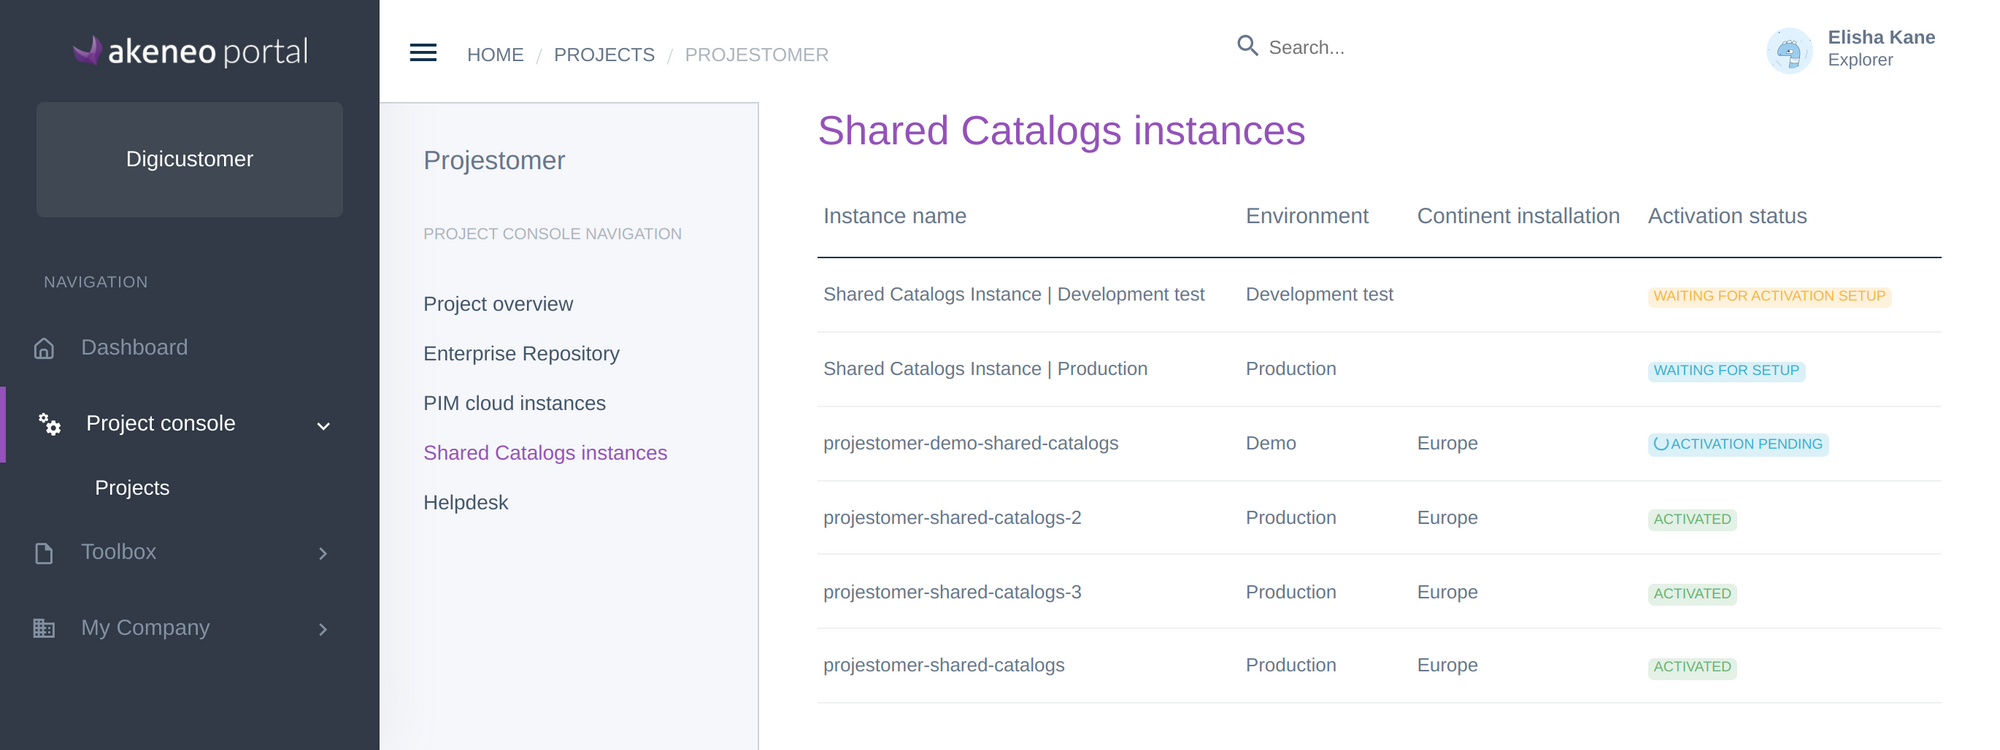
- First, go to Project console / Projects from the menu and select your project.
- Go to the Shared Catalogs instance tab, and open the instance with the status Waiting for setup by clicking on the instance line.
- Then, fill out the form with the missing prerequisites to create the Shared Catalogs instance.
Link your Shared Catalogs instance to an existing PIM Cloud instance
Now that the credentials have been created, you can proceed with the configuration of the Shared Catalogs instance in Akeneo Portal.
- Select a Linked PIM instance in the list.
- Choose an Instance name. Note that this will not be a domain name.
- The Installation continent is pre-filled with your linked PIM instance location.
- Input your PIM API connection credentials, and test the connection to validate.
- Once the form is filled in and the connection successfully tested, click on Request an instance.
- On the confirmation modal, click Confirm the request
If the linked PIM is a Flexibility instance, the Shared catalogs are compatible only with PIM version 5.0 and above.
Once the request is submitted, it takes some time to process. During this time, your instance status will be Activation pending.
Once the instance is created, the Shared Catalogs administrator will be notified by email, and the instance status will change to Activated.
You are now fully equipped to create, edit, and update your new Shared Catalogs!
Thanks to the dedicated API connection configured in the PIM, the Shared Catalogs platform can request your PIM. Please ensure that your credentials for this PIM API connection are set and eventually updated in the configuration of the Shared Catalogs instances in Akeneo Portal. Otherwise, Shared Catalogs platform won't be able to ensure the catalogs synchronizations.
For more information on how to create a connection between your PIM & your Shared Catalogs, browse this article.
Update your PIM API connection credentials
This step is not part of the original installation but can happen if you need to update your credentials, for example, for security reasons.
First, to update your connection credentials in the PIM, take a look at the “Revoke/regenerate your connection secret section”.
Then, to update your PIM API connection in your Shared Catalogs instance, the Shared Catalogs need to be activated.
From the Shared Catalogs instance Properties sub-tab
- Click the Update API connection button.
- Input your PIM API connection credentials, and test the connection to validate.
- You can change the Shared Catalogs administrator if needed.
- Once the form is filled in, click on Update.
You can update API connection as long as the status turned to starting_update. You will then be notified when the change is effective.